
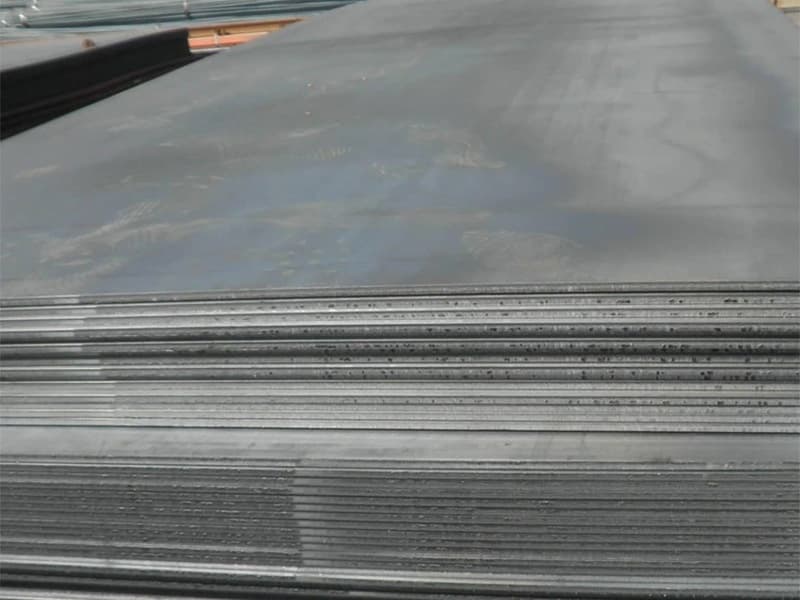
You order steel plates. You cut them. A pile of leftover pieces grows. You paid for steel you cannot use.
To reduce waste when ordering marine steel plates, optimize plate sizes and nesting plans, forecast quantities accurately, standardize dimensions across projects, and track remnants for reuse. These steps can cut scrap by 20‑40% and save thousands of dollars per project.

I am Zora Guo from cnmarinesteel.com. I have seen shipyards throw away tons of steel every month. That is money lost. But waste can be reduced. Let me show you how.
How to Optimize Plate Sizes and Nesting Plans to Minimize Cutting Scrap and Offcuts?
You have a large plate. You cut out small parts. The leftover space is wasted. You could have used a smaller plate.
Optimize plate sizes by running nesting software before ordering. The software fits your part shapes onto standard plate sizes. It tells you the most efficient plate dimensions. You then order those sizes from your supplier. Also, nest parts close together to reduce kerf loss and gap waste. For simple shapes, manual planning can still reduce scrap by 15‑25%.
Let me explain how nesting works.
What Is Nesting?
Nesting is arranging parts on a steel plate to use as much of the plate as possible. Think of packing suitcases – you fit small bags around large ones. Same idea.
Without nesting: You cut parts one by one. Each part takes a section of the plate. Gaps between parts are wasted.
With nesting: You rotate parts, fit small parts into gaps, and plan the cutting sequence to minimize waste.
How to Optimize Plate Sizes
Step 1: List all the parts you need to cut from a given thickness and grade.
Step 2: Use nesting software (or a spreadsheet for simple projects) to find the best plate size.
Step 3: The software will recommend a plate size – often non‑standard (e.g., 2.2m x 8.5m). Ask your supplier if they can provide that size. Many mills offer custom lengths.
Step 4: If custom sizes are not available, choose the nearest standard size that works.
Kerf Loss – The Hidden Waste
Kerf is the width of the cutting tool (e.g., plasma or laser). Each cut removes a thin line of steel. For many cuts, the kerf loss adds up.
Example: You have 100 cuts of 1m each, with a 3mm kerf. Total kerf length = 100m x 0.003m = 0.3 m² of steel. If plate thickness is 10mm, that is 0.003 m³, about 23 kg. Not huge, but significant for large projects.
Reduce kerf loss by: Using narrow‑kerf cutting methods (laser > plasma > oxy‑fuel), and nesting to combine adjacent cuts.
A Real Example
A shipyard in Vietnam used nesting software for the first time. They were building a 50m fishing boat. Before nesting, they ordered plates in standard 2m x 6m sizes. Scrap was 25%. After nesting, they ordered custom 2.5m x 8m plates. Scrap dropped to 12%. They saved 13 tons of steel on that project, about $10,000.
Why Is Accurate Forecasting of Plate Quantities Essential to Avoid Over‑Ordering and Surplus Inventory?
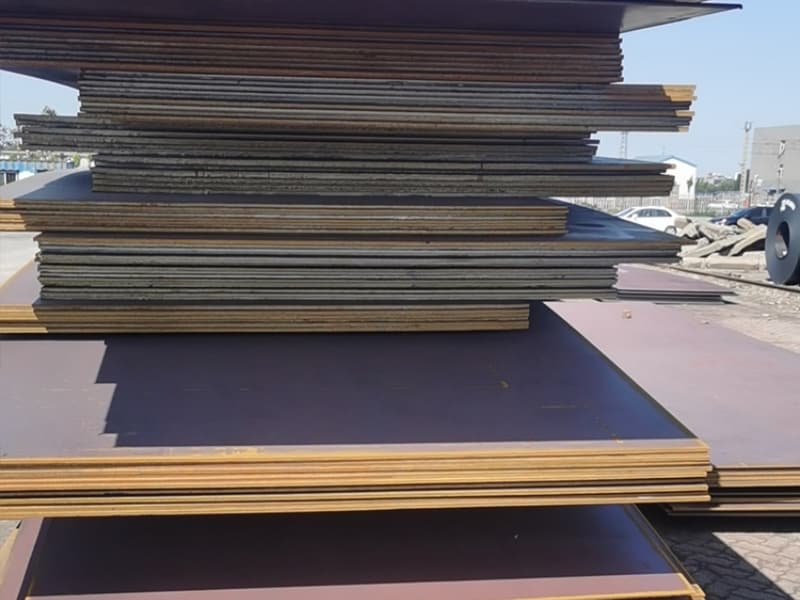
You guess how much steel you need. You order extra “just in case.” That extra sits in your yard for months. You paid for it, but you cannot use it.
Accurate forecasting matches the quantity of steel you order to the quantity you actually need. Use detailed bills of material (BOM) and add a small buffer (5‑10%) for errors. Do not add 20‑30% “just in case.” Over‑ordering creates surplus inventory that rusts or becomes obsolete. Accurate forecasting reduces waste and frees up working capital.
Let me show you how to forecast correctly.
The Cost of Over‑Ordering
If you over‑order by 10% on a 500‑ton project at $800/ton, that is 50 tons of excess steel worth $40,000. That steel sits in your yard. It rusts. It takes up space. You may never use it. After 2 years, you sell it as scrap for $200/ton, losing $30,000.
How to Forecast Accurately
Step 1: Create a detailed bill of material (BOM) for each part. Include thickness, grade, and dimensions.
Step 2: Sum the steel weight for all parts.
Step 3: Add a small buffer for:
- Cutting errors (1‑2%)
- Nesting inefficiency (3‑5%)
- Extra pieces for rework (1‑2%)
Total buffer: 5‑10%, not 20‑30%.
Step 4: Round up to the nearest mill order quantity (e.g., if your total is 47 tons, order 50 tons if that is the minimum).
Avoid “Just in Case” Ordering
Many buyers add extra steel because they fear running out. But running out is better than over‑ordering, because you can always order more later (with a small delay). Over‑ordering creates permanent waste.
Better approach: Order 95% of the calculated quantity. Keep a small safety stock of common sizes. If you run short, order a small top‑up batch.
A Real Example
A contractor in Saudi Arabia always added 20% to his steel orders. On a 1,000‑ton project, he ordered 1,200 tons. After the project, 180 tons were left unused. He stored them for 3 years. The steel rusted. He sold it for scrap at 25% of the purchase price. He lost $100,000. He now uses a 5% buffer and orders top‑ups as needed.
How Can Standardizing Plate Dimensions and Grades Across Multiple Projects Reduce Leftover Material?
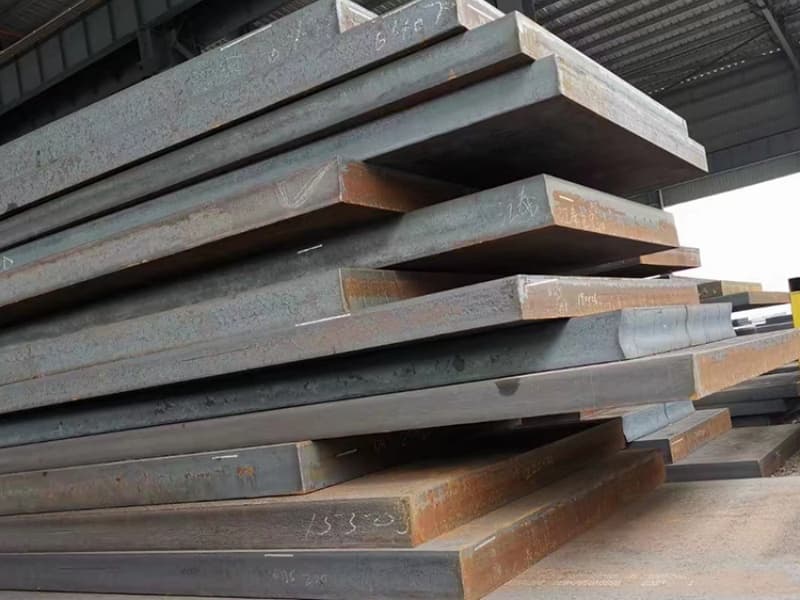
You finish Project A. You have leftover 15mm AH36 plates. Project B needs 12mm AH36. You cannot use the leftovers.
Standardize plate thicknesses and grades across your projects. Use the same thickness for similar structural elements. Choose a single grade (e.g., AH36) for most applications instead of mixing A, AH32, and AH36. When leftovers from one project match the requirements of another project, you reuse them instead of buying new steel. Standardization reduces variety and increases the chance of using remnants.
Let me explain how to implement standardization.
Standardize Thicknesses
Instead of using 10mm, 11mm, 12mm, 13mm, use 10mm and 12mm only. If a part needs 11mm thickness, redesign it to use 12mm (adds a small weight) or 10mm (if strength permits).
Example from a shipyard: They used to have 6, 8, 10, 12, 14, 16, 18, 20mm plates. They reduced to 8, 10, 12, 16, 20mm. They saved 3 thicknesses. Now leftovers are more compatible across projects.
Standardize Grades
Use one primary grade for most structural steel. For example, use AH36 for all high‑stress areas and Grade A for low‑stress areas. Avoid using AH32, D, and other grades unless absolutely required.
Benefit: Leftover AH36 from one project can be used as AH36 in another project. You do not need to re‑certify.
Coordinate Across Projects
If you have multiple projects running at the same time, share inventory. Project A’s leftovers become Project B’s starting material.
How to do it: Create a central inventory system that tracks remnants by thickness, grade, and size. When a new project starts, check the remnant inventory first before ordering new plates.
A Real Example
A shipyard in Malaysia built tugboats and fishing boats. They used different thicknesses for each. They changed their design to use common thicknesses: 10mm, 12mm, 15mm, 20mm across both types. Leftover plates from tugboats were used on fishing boats. Scrap dropped from 18% to 9% in one year.
What Inventory Management Practices (Tracking Remnants, Reusing Offcuts) Help Cut Waste Over Time?
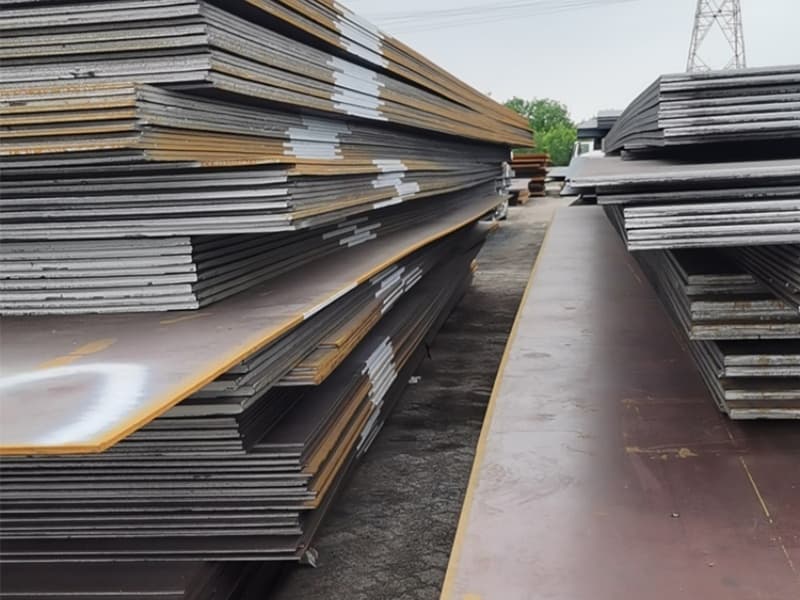
You cut a large plate. You have a small offcut. You throw it away. Six months later, you need a small piece exactly that size. You buy a new plate.
Track remnants by size, thickness, and grade in a simple spreadsheet or inventory system. Store offcuts in labeled bins. Train your team to check remnant inventory before cutting a new plate. For small parts, design them to fit common offcut sizes. Over time, reusing offcuts can reduce new plate purchases by 5‑10%.
Let me give you a practical system.
Step 1: Identify and Tag Remnants
After cutting, any piece larger than, say, 300mm x 300mm is a remnant. Do not throw it away.
Tag each remnant with:
- Thickness
- Grade
- Approximate dimensions (width x length)
- Heat number (if traceability is required)
Use a paint marker or adhesive label.
Step 2: Store in Labeled Bins
Create a storage area for remnants. Organize by thickness and grade.
| Bin | Thickness | Grade |
|---|---|---|
| Bin 1 | 10mm | A |
| Bin 2 | 10mm | AH36 |
| Bin 3 | 12mm | A |
| Bin 4 | 12mm | AH36 |
| Bin 5 | 15mm | AH36 |
| Bin 6 | 20mm | AH36 |
Step 3: Maintain a Remnant Log
Use a simple spreadsheet. Update it every time a remnant is added or removed.
Columns: Bin #, Thickness, Grade, Width (mm), Length (mm), Date added, Date removed, Project used on.
Step 4: Check Remnants Before Ordering
Before placing a new plate order, your team checks the remnant log. If a remnant can be used for a part, they take it from the bin.
Step 5: Design for Remnant Use
When designing parts, consider common remnant sizes. For example, if you often have offcuts that are 500mm x 500mm, try to design small brackets and gussets to fit that size.
A Real Example
A yard in the Philippines started a remnant tracking system. In the first month, they identified 8 tons of usable offcuts. They used these offcuts to make small parts for three different projects. They saved $6,400 in new steel purchases. The system cost $100 for bins and labels. The yard manager said: “We used to throw away steel. Now we treat it as money.”
What Not to Keep
Do not keep very small pieces (under 100mm x 100mm) – they are hard to use. Do not keep rusty or damaged remnants. Do not keep pieces without grade identification – you cannot use them in classed structures.
Conclusion
Optimize nesting and plate sizes, forecast accurately, standardize dimensions across projects, and track remnants for reuse. These practices cut waste, save money, and reduce environmental impact.