
You build ships in modules. Each module needs different plates. Ordering all at once is wasteful. Ordering piece by piece is slow.
For modular ship construction, group plate orders by module block to match your fabrication sequence, standardize sizes and nesting plans across modules, use phased deliveries with just‑in‑time (JIT) supply, and maintain strict traceability. This approach cuts waste, reduces inventory, and keeps your assembly line moving.
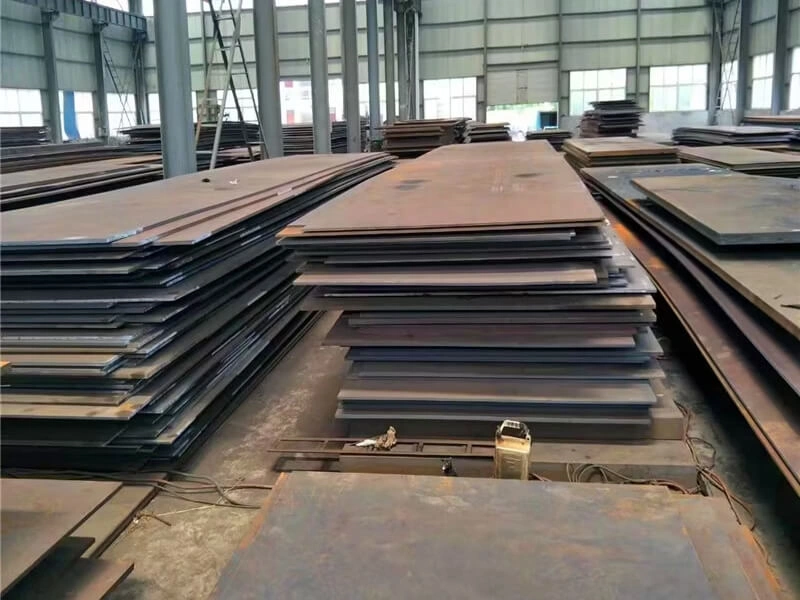
I am Zora Guo from cnmarinesteel.com. I have supplied plates to shipyards using modular construction. The old way – ordering all steel at once – does not work well for modular building. You end up with piles of steel that you do not need for months. Or you run out of the one size you need today. Let me show you a better way.
How to Group Plate Orders by Module Block to Match Fabrication Sequence and Minimize Rework?
In traditional shipbuilding, you order all steel at the start of the project. In modular construction, you build blocks in sequence. Your steel orders should match that sequence.
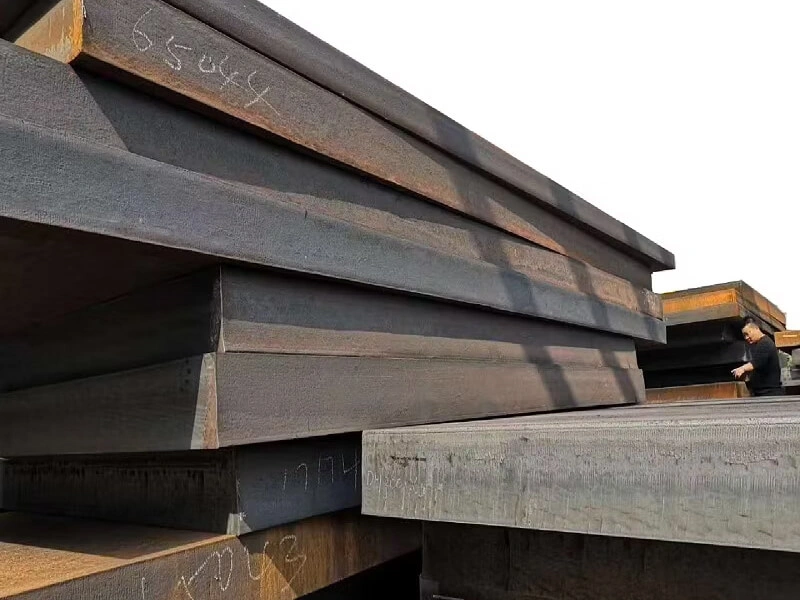
Group your plate orders by module block, not by grade or thickness alone. Create a block‑by‑block material takeoff. For each block (e.g., bottom block, side block, deck block), list every plate size, thickness, and grade. Then group identical blocks (if you are building multiple similar blocks) to benefit from volume pricing. Order each block’s steel to arrive 2‑4 weeks before its fabrication starts. This block‑based grouping reduces the risk of ordering the wrong plate for a block and minimizes rework when plates are cut for the wrong module.
Let me explain how to implement this.
Step 1: Break the Ship into Blocks
In modular construction, the hull is divided into blocks. A typical breakdown for a tanker or bulk carrier:
- Bottom blocks – heaviest plates, highest grades (AH36/DH36, 20‑30mm)
- Side blocks – medium plates (AH36, 12‑20mm)
- Inner bottom blocks – medium plates (AH32/AH36, 12‑16mm)
- Deck blocks – lighter plates (A/AH32, 8‑12mm)
- Superstructure blocks – lightest plates (A grade, 6‑8mm)
Step 2: Create a Block Material Takeoff (MTO)
For each block, list every plate required. Include:
| Block | Plate ID | Grade | Thickness | Dimensions | Quantity | Fabrication start |
|---|---|---|---|---|---|---|
| Bottom Block 1 | BOT‑01 | DH36 | 25mm | 2.5m x 12m | 8 | Week 6 |
| Bottom Block 1 | BOT‑02 | DH36 | 20mm | 2m x 10m | 12 | Week 6 |
| Side Block 1 | SIDE‑01 | AH36 | 15mm | 2m x 8m | 10 | Week 10 |
Best practice: If multiple blocks are identical (e.g., three identical side blocks), group them into one order line. This gives you volume pricing and simplifies ordering.
Step 3: Sequence Orders by Fabrication Start Date
Order steel for each block to arrive 2‑4 weeks before fabrication starts. This gives your yard time for receiving, inspection, and cutting without holding long‑term inventory.
| Example phased order plan for a 6‑block ship: | Block | Fabrication start | Order placement | Delivery date |
|---|---|---|---|---|
| Bottom Block | Week 6 | Week 1 | Week 4 | |
| Side Block A | Week 10 | Week 5 | Week 8 | |
| Inner Bottom Block | Week 12 | Week 7 | Week 10 | |
| Side Block B | Week 14 | Week 9 | Week 12 | |
| Deck Block | Week 18 | Week 13 | Week 16 | |
| Superstructure | Week 22 | Week 17 | Week 20 |
A Real Example
A shipyard in Vietnam building four identical tugboats switched from traditional single‑order procurement to block‑based grouping. Before the change, they ordered 100% of steel upfront. Steel sat in the yard for 6‑8 months, rusted, and tied up capital. After implementing block‑based grouping, they placed one master order for all steel but phased deliveries by block. Inventory holding cost dropped by 40%, and rust‑related rejections dropped to near zero. The procurement manager said: “We now treat each block as its own project. It makes everything simpler.”
What Standardization of Plate Sizes, Grades, and Nesting Plans Reduces Complexity Across Multiple Modules?
You have five different side blocks. Each uses slightly different plate dimensions. Your supplier must cut each to size separately. Waste adds up.
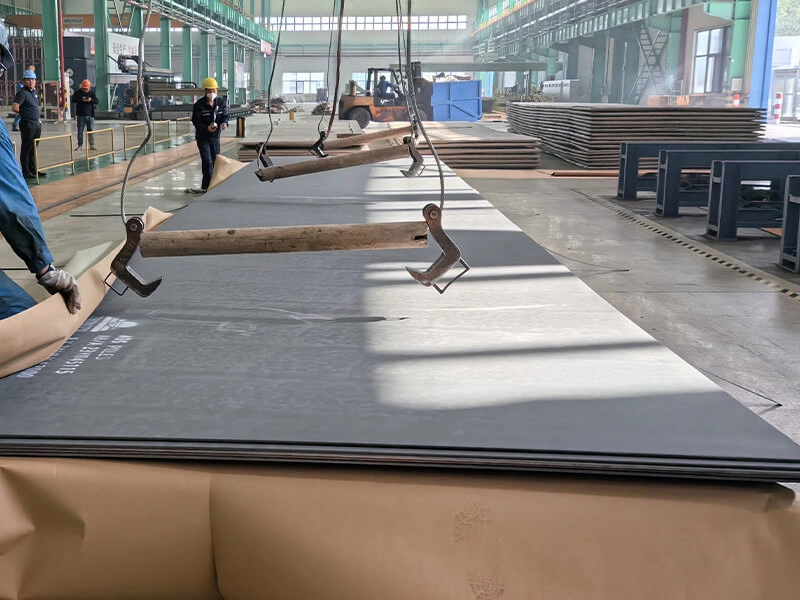
Standardize plate sizes and grades across modules wherever possible. If one side block needs 2.0m x 8m plates and another needs 2.1m x 8.2m, redesign to use a common size. Standardization also applies to nesting – use the same nesting plan for identical blocks. This allows you to cut all plates for repeated blocks in one batch, saving setup time and reducing scrap. Shipyards using ESW modular blocks report up to 30% reduction in construction time and 25% improvement in structural efficiency through standardization.
Let me show you how to apply standardization.
Standardize Plate Dimensions
Design all side shell plates for a vessel family to use the same width (e.g., 2.4m) and a few standard lengths (e.g., 6m, 9m, 12m). This is sometimes called a “common generic block” approach – creating reusable block designs across multiple vessels.
Benefits:
- Your supplier can stock standard sizes, reducing lead time.
- Nesting becomes simpler because you are cutting the same shapes repeatedly.
- Scrap from odd‑size plates disappears.
Standardize Grades
Limit the number of grades used across the vessel. Instead of using A, AH32, AH36, DH32, and DH36, select one grade for high‑stress areas (AH36) and one for low‑stress areas (A grade). The small weight penalty of using AH36 instead of AH32 is often worth the simplification in procurement and inventory.
Standardize Nesting Plans for Repeated Blocks
If you are building three identical deck blocks, create one nesting plan that fits all three. Then cut all three blocks’ plates in one continuous run. This reduces cutting machine setup time and ensures that any optimization in the nest applies to all blocks.
By minimizing material waste, reducing labor time, and improving accuracy, plate nesting ultimately leads to cost savings throughout the shipbuilding process. For identical blocks, the savings multiply.
Nesting Software – The Enabler
Nesting software analyzes all parts from your blocks and calculates the most efficient way to arrange them on standard plate sizes.
Using automated plate nesting, shipyards can save up to 13% on raw material requirements compared to semi‑automatic nesting or other third‑party systems. For a 1,000‑ton project, that is 130 tons of steel saved – over $100,000.
The software also supports block‑based nesting – you can nest parts for a specific block together, making it easy to track which plates go to which module.
A Real Example
A shipyard in Malaysia built 10 identical offshore crew boats over two years. They standardized plate sizes across all boats. They also created a master nesting plan for each block type. The first boat required 300 tons of steel. By the fifth boat, waste had dropped from 12% to 6% as the nesting plan was refined. The total steel saving across 10 boats was 180 tons – about $144,000.
How to Phase Deliveries and Use Just‑in‑Time (JIT) Supply to Align Steel Arrival with Module Assembly Milestones?
Your yard has limited space. You cannot store steel for all modules at once. JIT delivery aligns steel arrival with when you actually need it.
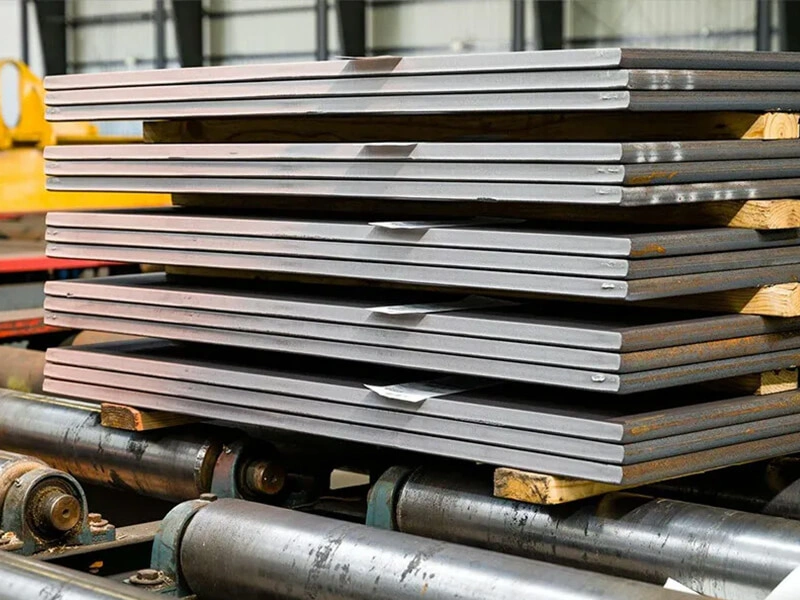
Use phased deliveries from your supplier to match module assembly milestones. Create a delivery schedule that sends steel for Block A first, Block B second, and so on. Work with a supplier who offers just‑in‑time (JIT) delivery from their warehouse or directly from the mill. The supplier holds your steel and ships only what you need, when you need it. This reduces your on‑site inventory by 60‑80%, frees up yard space, and cuts the risk of rust or damage from long storage.
Let me explain how to set up JIT for modular construction.
How JIT Works for Modular Shipbuilding
In a JIT arrangement for modular construction:
- You provide your supplier with a block assembly schedule (e.g., “Bottom Block starts Week 6, Side Block A starts Week 10”).
- The supplier holds the steel for all blocks at their warehouse.
- At agreed intervals (e.g., every 2 weeks), the supplier ships only the steel needed for the upcoming block.
- You receive the steel, inspect it, and move it directly to the cutting line.
- Minimal storage time – steel arrives, gets cut, and goes into the block.
The goal: Keep steel moving, not sitting.
Setting Up a JIT Delivery Schedule
| Block | Assembly start | Last order date | Supplier action |
|---|---|---|---|
| Bottom Block | Week 6 | Week 3 | Ship all Bottom Block steel |
| Side Block A | Week 10 | Week 7 | Ship Side Block A steel |
| Inner Bottom | Week 12 | Week 9 | Ship Inner Bottom steel |
| Deck Block | Week 16 | Week 13 | Ship Deck Block steel |
The supplier has a rolling 3‑week lead time. You update the schedule weekly as your assembly progresses.
Benefits of JIT for Modular Construction
- Reduced yard space – Steel for only 1‑2 blocks on site at any time.
- Lower inventory holding cost – You are not paying for steel months before you use it.
- Less rust – Steel that arrives and is cut within days does not have time to rust.
- Flexibility – If the assembly sequence changes, you can adjust future deliveries.
A Real Example
A shipyard in Thailand building modular patrol boats used JIT delivery. Their supplier held steel for all six modules. The yard placed weekly release orders for the next module’s steel. On‑site steel inventory dropped from 400 tons to 120 tons. Yard space freed up for block assembly. The yard manager told me: “We used to have steel everywhere. Now we have a clean yard and steel arrives just before we cut it.”
What You Need for JIT to Work
- A reliable supplier – Late deliveries break JIT. Choose a supplier with consistent on‑time performance.
- Accurate forecasting – You must know your assembly schedule at least 3‑4 weeks out.
- Buffer stock – Keep a small safety buffer (1‑2 weeks) of common sizes at your yard in case of delivery delays.
What Quality Control and Traceability Practices Prevent Plate Mix‑Ups When Different Modules Have Different Specifications?
You have steel for Module A and Module B in your yard. They look the same. But Module A needs AH36. Module B needs A grade. Mix them up, and your weld cracks.
When multiple modules have different specifications, use physical separation, clear labeling, and heat number traceability. Store steel for each module in a separate, marked zone. Use color‑coded edge painting – e.g., red for Module A plates, blue for Module B. Each plate must have its grade and heat number stamped clearly. Before cutting any plate for a module, verify the heat number against the module’s material list. Digital traceability systems can track each plate from arrival to installation. This prevents expensive mix‑ups and satisfies class surveyor audits.
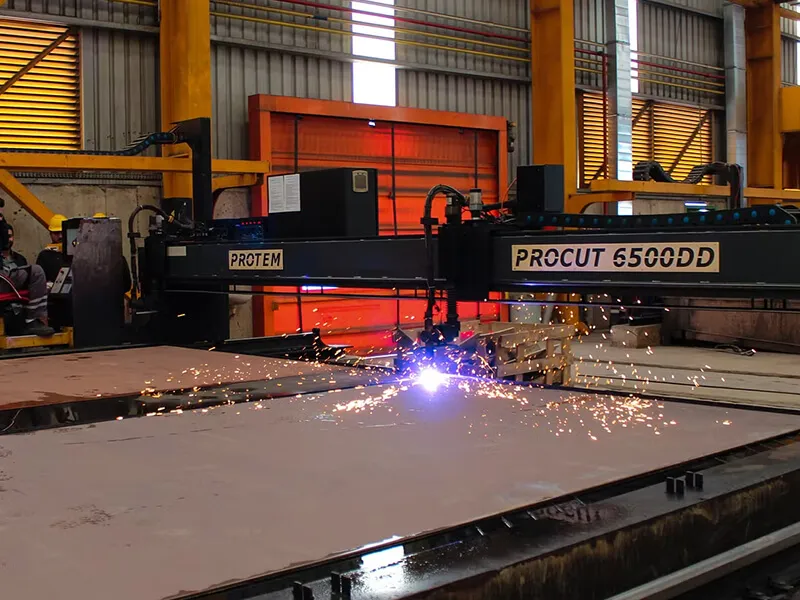
Let me detail the practices that work.
Physical Separation – The First Line of Defense
Designate separate storage zones for each module. Use painted lines on the ground, signs, and barriers.
Example for a 4‑module project:
- Zone 1 – Bottom Module – Red floor markings
- Zone 2 – Side Module A – Blue floor markings
- Zone 3 – Side Module B – Blue floor markings (separate area)
- Zone 4 – Deck Module – Green floor markings
Do not stack plates from different modules in the same pile.
Color Coding – Visual Identification
Paint the edge of each plate with a color that identifies its module. This allows forklift operators and cutters to see at a glance which module the plate belongs to.
| Module | Edge color |
|---|---|
| Bottom Module | Red stripe |
| Side Module A | Blue stripe |
| Side Module B | Blue stripe (two stripes) |
| Deck Module | Green stripe |
Traceability Documentation
Per class society rules, each steel plate must be marked with its steel grade, heat number, manufacturer name, and dimensions. For modular construction, add the module ID to the marking or tag.
What to record:
- Plate ID (unique number)
- Heat number
- Steel grade
- Module assignment (e.g., “Bottom Module – Frame B3”)
- Mill certificate reference
Digital Traceability
A digital traceability system ensures that every plate can be tracked from arrival to final installation. Such systems are essential for meeting class society requirements and demonstrating compliance during audits.
What a traceability system tracks:
- Plate arrival and inspection results
- Storage location by module
- Cutting date and which part was cut
- Block assignment after cutting
Before Cutting – Two‑Step Verification
Implement a two‑step verification process before any plate is cut for a module:
- Cutter checks – The cutter reads the plate stamp (grade and heat number) and confirms it matches the module’s material list.
- Supervisor confirms – A supervisor visually checks the stamp and the module ID on the work order.
Never assume. Always verify.
A Real Example
A shipyard in Qatar was building two offshore vessels simultaneously. Module A used AH36 plates. Module B used DH36 plates. Both looked identical. A worker accidentally cut a DH36 plate for Module A. The mistake was found after welding. The section had to be cut out and replaced – $12,000 and 2 weeks lost. After that, the yard implemented color‑coded edge painting and separate storage zones. In the next 12 months, zero mix‑ups occurred.
Conclusion
Group plates by module block, standardize sizes and nesting across modules, use phased JIT deliveries aligned with assembly milestones, and maintain strict traceability. This four‑part strategy makes modular shipbuilding efficient and cost‑effective.