A shipyard in Saudi Arabia received angle steel with poor straightness last month. The fabrication delays taught us the importance of proper flatness inspection.
Angle steel flatness and straightness are measured using straightedges, feeler gauges, and optical methods. Flatness checks the surface evenness while straightness measures linear deviation, with acceptance criteria typically allowing 2mm per meter for shipbuilding applications according to classification society standards.
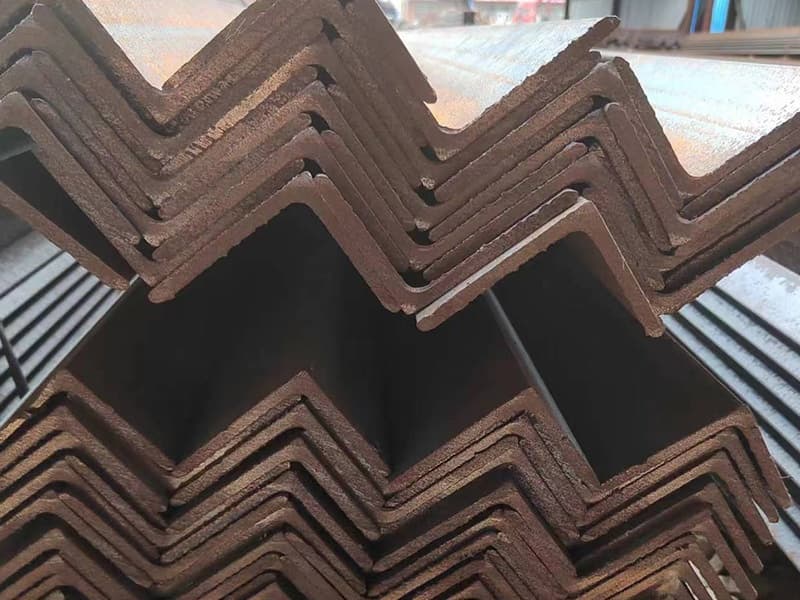
Proper measurement ensures angle steel fits correctly in ship structures. Let me explain the inspection methods that prevent fabrication problems.
How to measure straightness and flatness?
A quality inspector from Qatar needed to establish measurement procedure1s for their new shipbuilding project. Standard methods ensured consistent results.
Straightness is measured using precision straightedges2 along the angle’s length, checking deviation with feeler gauges3. Flatness is verified by placing a straightedge across the surface and measuring gaps. Both measurements follow standardized procedures in specifications like ASTM A64 with typical tolerances5 of 2mm per meter for marine applications.
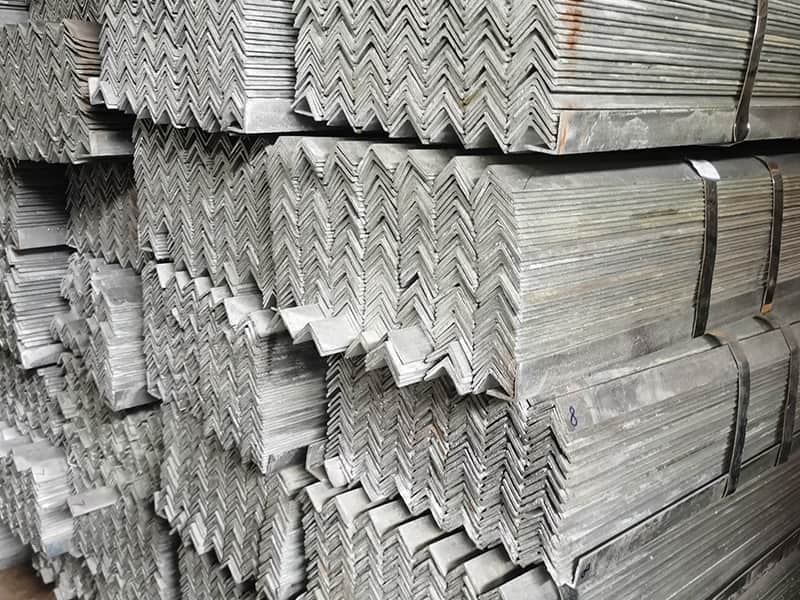
Comprehensive Measurement Techniques
Measuring straightness and flatness requires specific tools and systematic approaches. Each method provides quantitative data about the angle steel’s geometrical accuracy.
Straightness Measurement Fundamentals
Straightness measures how much a surface element deviates from a straight line. For angle steel, we check both legs along their entire length. The measurement should cover multiple positions along each leg. We typically take measurements every meter for standard lengths. The maximum deviation determines the straightness compliance.
Flatness Assessment Principles
Flatness evaluates how much a surface deviates from a perfect plane. For angle steel, we check the flatness of each leg surface. The measurement considers the entire surface area, not just linear paths. Flatness errors can cause welding problems and poor fit-up. The assessment requires careful technique and proper tools.
Tool Selection and Calibration
Proper tools are essential for accurate measurements. Precision straightedges must maintain their straightness. Feeler gauges should be clean and undamaged. Measuring tapes require regular calibration. The tools should be appropriate for the angle size being measured. Using worn or damaged tools gives false readings.
Measurement Procedure Steps
The measurement process follows a logical sequence. First, clean the angle surface to remove any debris. Place the straightedge along the length of one leg. Insert feeler gauges3 to measure any gaps. Record the maximum gap and its location. Repeat the process for the other leg and different positions.
Environmental Considerations
Measurement conditions affect accuracy. Temperature variations can cause thermal expansion. Direct sunlight may warp the straightedge. The measurement surface should be stable and level. Avoid measuring immediately after material handling. Allow the steel to stabilize to ambient conditions.
Data Recording and Analysis
Proper documentation supports quality decisions. Record all measurements systematically. Note the measurement locations and conditions. Calculate the deviation per meter length. Compare results with specification requirements. Maintain records for traceability and analysis.
Measurement Standards and Tolerances
International standards define acceptance criteria. ASTM A64 specifies straightness tolerances5. Classification societies may have additional requirements. Typical tolerance is 2mm per meter for shipbuilding. Tighter tolerances5 may apply for special applications. Understanding the standards ensures proper assessment.
Straightness and Flatness Measurement Guide
| Measurement Type | Tools Required | Procedure | Acceptance Criteria |
|---|---|---|---|
| Straightness | Precision straightedge, feeler gauges3 | Measure along length every meter | ≤2mm per meter |
| Flatness | Straightedge, feeler gauges3 | Check across surface at multiple points | ≤2mm per meter |
| Twist | Level, straightedge | Check both legs simultaneously | ≤1° per meter |
| Camber | String line, measuring tape | Measure deviation from string | ≤3mm per 3 meters |
| Sweep | Straightedge, measuring tools | Check curvature in weak direction | ≤4mm per 3 meters |
We implement these measurement procedure1s for all angle steel shipments. Clients in Vietnam and Philippines receive detailed inspection reports.
How do you measure flatness of steel?
A fabricator from Mexico struggled with welding distortions due to poor flatness. Implementing proper measurement techniques solved their fit-up problems.
Steel flatness is measured using precision straightedges1 placed across the surface at multiple locations, with feeler gauges determining gap sizes. For large surfaces, optical flatness testers or laser scanners provide more comprehensive measurements, following standards that typically allow 2mm deviation per meter for structural applications.
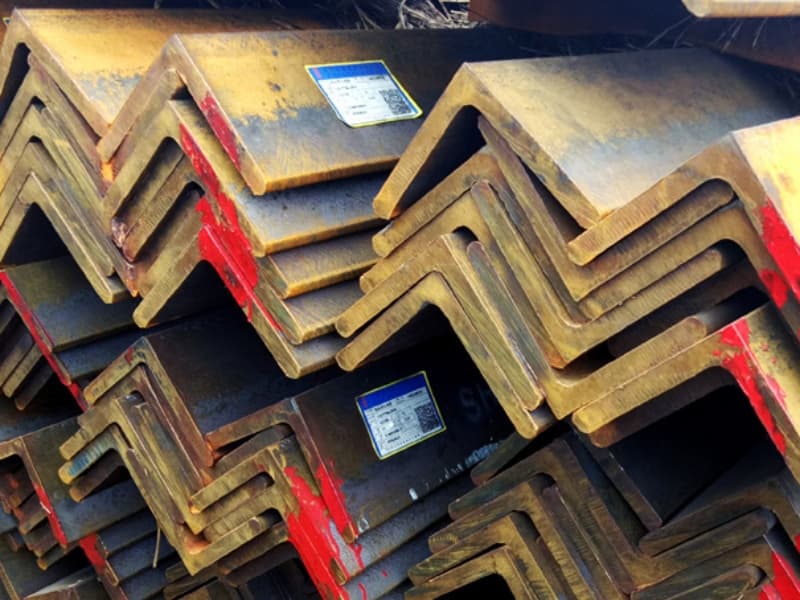
Advanced Flatness Measurement Techniques
Flatness measurement involves assessing surface uniformity across two dimensions. Different methods suit different applications and accuracy requirements.
Manual Measurement Methods
Manual methods use simple but effective tools. Precision straightedges come in various lengths from 1m to 3m. The straightedge is placed across the surface at different angles. Feeler gauges measure the gap between straightedge and surface. Multiple measurements provide a comprehensive flatness assessment. This method works well for most field applications.
Optical Measurement Systems
Advanced optical methods offer higher accuracy. Laser scanners create detailed surface maps. Optical flats use interference patterns for precision assessment. These systems provide quantitative data for critical applications. The equipment requires proper calibration and operator training. The methods suit laboratory and high-precision manufacturing.
Surface Plate Comparison
This method uses a precision surface plate as reference. The steel sample is placed on the surface plate. Feeler gauges measure gaps between the sample and plate. The method provides excellent accuracy for small to medium pieces. The surface plate must be properly maintained and calibrated. This technique works well in quality control laboratories.
Digital Measurement Tools
Modern digital tools enhance measurement efficiency. Digital levels provide electronic readouts of surface inclination. Laser distance sensors measure multiple points quickly. Software analyzes the data and calculates flatness parameters. These tools reduce operator error and improve repeatability. The investment is justified for high-volume inspection.
Measurement Pattern Planning
Proper measurement patterns ensure comprehensive assessment. For rectangular surfaces, use a grid pattern with 300-500mm spacing. For irregular shapes, increase measurement density in critical areas. Always include measurements near edges and centers. The pattern should cover the entire surface adequately. Document the measurement locations for consistency.
Environmental Factor Control
Environmental conditions affect measurement accuracy. Temperature stability prevents thermal expansion errors. Avoid measurements in direct sunlight or near heat sources. Ensure the steel is properly supported during measurement. Allow adequate stabilization time after material handling. Control these factors for reliable results.
Flatness Measurement Method Comparison
| Method | Accuracy | Speed | Cost | Best Applications |
|---|---|---|---|---|
| Manual Straightedge | ±0.1mm | Slow | Low | Field inspection, small areas |
| Optical Flat | ±0.001mm | Medium | High | Laboratory, precision parts |
| Laser Scanner | ±0.01mm | Fast | High | Large surfaces, automation |
| Surface Plate | ±0.05mm | Medium | Medium | Small components, laboratory |
| Digital Level | ±0.1° | Fast | Medium | Large structures, field use |
We use appropriate measurement methods based on application requirements. Clients in Thailand and Malaysia appreciate our thorough flatness verification.
How to manually check flatness?
A ship repair yard in Philippines needed simple flatness checking methods for their maintenance work. Manual techniques provided practical solutions.
Manual flatness checking uses a precision straightedge placed across the steel surface with feeler gauges measuring gap sizes. The straightedge is positioned at multiple locations and angles, with measurements taken at maximum gap points and compared against acceptance criteria of typically 2mm per meter for structural steel applications.
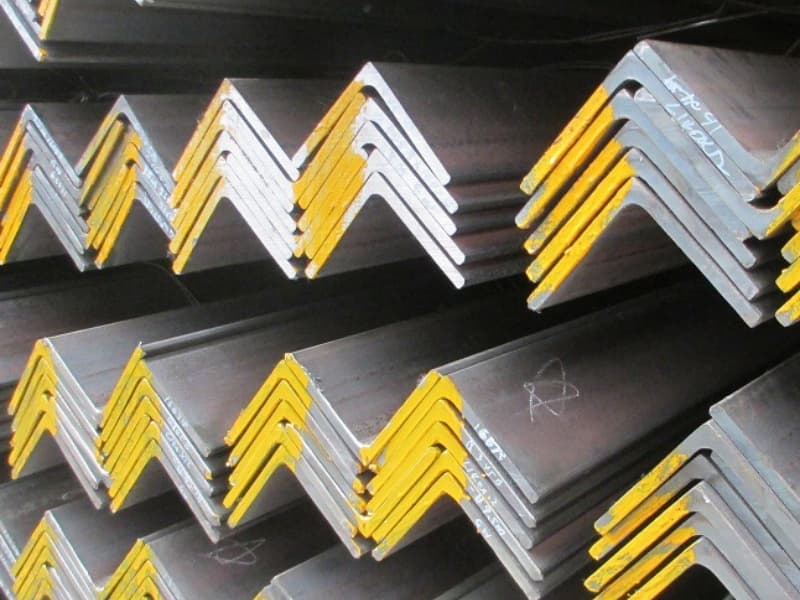
Practical Manual Flatness Inspection
Manual flatness checking remains the most widely used method due to its simplicity and effectiveness. Proper technique ensures reliable results without complex equipment.
Tool Selection and Preparation
Choose appropriate tools for the task. Precision straightedges should be longer than the measurement area. Common lengths are 1m, 2m, and 3m straightedges. Feeler gauges should cover the expected gap range from 0.05mm to 3mm. Clean all tools before use to prevent false readings. Verify straightedge straightness periodically.
Measurement Surface Preparation
Prepare the steel surface properly. Remove any dirt, scale, or debris that might affect measurements. Ensure the steel is properly supported to avoid sagging. Use stable supports at regular intervals for long pieces. Allow the steel to reach stable temperature conditions. Mark measurement locations for consistent procedure.
Straightedge Placement Techniques
Place the straightedge systematically across the surface. Start with longitudinal measurements along the length. Then take transverse measurements across the width. Include diagonal measurements for comprehensive assessment. Move the straightedge in overlapping passes. Cover the entire surface with adequate measurement density.
Gap Measurement Procedure
Measure gaps carefully and consistently. Insert feeler gauges at the point of maximum gap. Use the thickest gauge that fits without forcing. Record the gap size and location accurately. Note whether the gap is consistent or localized. Repeat measurements to verify consistency.
Data Recording and Interpretation
Record all measurements systematically. Use a grid pattern to document measurement locations. Calculate the flatness deviation per unit length. Compare results with specification requirements. Identify areas that exceed tolerance limits. Document any patterns or trends in the flatness errors.
Common Error Avoidance
Avoid common measurement mistakes. Do not force feeler gauges into gaps. Ensure the straightedge is not damaged or warped. Take measurements away from edges to avoid edge effects. Use adequate lighting to see small gaps clearly. Have a second person verify questionable measurements.
Acceptance Criteria Application
Apply appropriate acceptance criteria. Most structural steel allows 2mm per meter flatness. Tighter tolerances may apply for machining surfaces. Consider the intended application when evaluating results. Document any deviations from standard criteria. Make acceptance decisions based on complete data.
Manual Flatness Checking Steps
| Step | Action | Tools | Key Points |
|---|---|---|---|
| Preparation | Clean surface, position steel | Cleaning tools, supports | Remove all debris, ensure stability |
| Tool Check | Verify straightedge straightness | Reference surface | Check against known flat surface |
| Measurement | Place straightedge, measure gaps | Straightedge, feeler gauges | Multiple positions, record maximum gap |
| Documentation | Record measurements | Notebook, camera | Include locations, values, conditions |
| Analysis | Calculate deviations | Calculator | Compare with specifications |
| Decision | Accept or reject | Standards reference | Consider application requirements |
We train our quality team in proper manual measurement techniques. Clients receive reliable flatness verification with every shipment.
How to inspect straightness?
A contractor from Romania needed to verify angle straightness before installation. Systematic inspection prevented alignment problems in their structure.
Straightness inspection uses precision straightedges aligned with the steel’s longitudinal axis, with feeler gauges measuring deviations at multiple points. The inspection covers the entire length with measurements typically taken every meter, comparing maximum deviation against acceptance criteria of 2mm per meter for standard structural applications.
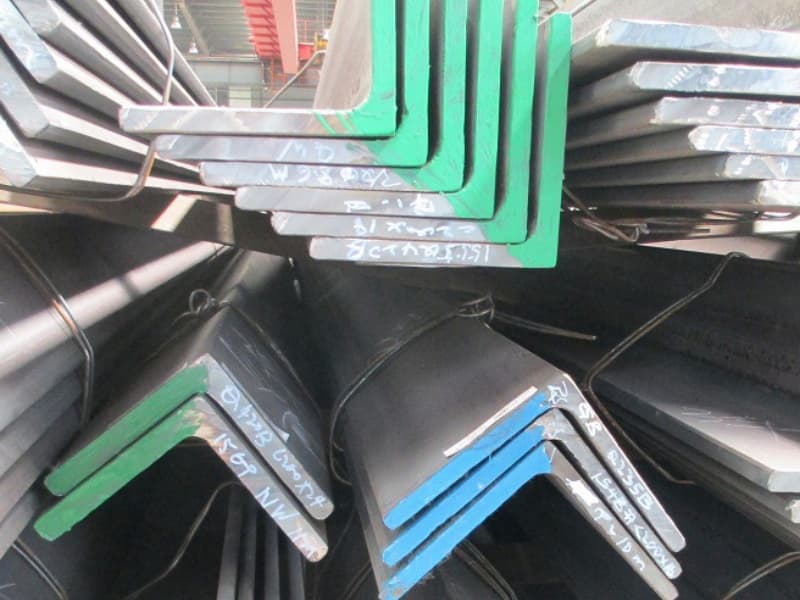
Comprehensive Straightness Inspection Methodology
Straightness inspection evaluates how much a structural member deviates from a perfect straight line. Systematic inspection ensures components fit properly in the final structure.
Visual Inspection Methods
Begin with visual assessment of straightness. Sight along the length of the angle steel. Look for obvious bends, bows, or twists. Use a string line for quick visual reference. Mark any areas that appear problematic. Visual inspection helps identify gross deviations quickly.
Straightedge Measurement Technique
Use precision straightedges for quantitative measurement. Place the straightedge along the length of each leg. Ensure full contact along the straightedge length. Measure gaps at the point of maximum deviation. Use feeler gauges to quantify the gap size. Record measurements at regular intervals.
Laser Alignment Systems
Advanced laser systems provide high accuracy. Laser transmitters project straight reference lines. Receivers detect deviations from the reference. These systems work well for long lengths. The equipment requires proper setup and calibration. Laser methods reduce operator influence on results.
Optical Tool Applications
Optical tools like alignment telescopes offer precision. These tools establish a precise reference line. Measurements detect deviations from this line. The methods suit long-span measurements. Operator training is essential for reliable results. Optical methods provide excellent repeatability.
Measurement Frequency and Pattern
Establish appropriate measurement patterns. For standard lengths, measure every meter along the length. Increase frequency near ends and midpoints. Include measurements on both legs of angles. Document the measurement locations consistently. The pattern should detect all significant deviations.
Environmental Considerations
Control environmental factors during inspection. Temperature variations affect measurement accuracy. Avoid measurements during temperature extremes. Ensure the steel is properly supported. Allow time for thermal stabilization after handling. Consider thermal expansion in evaluation.
Acceptance Criteria Application
Apply relevant acceptance criteria. Structural steel typically allows 2mm per meter straightness. Tighter tolerances apply for machined surfaces. Consider the structural application requirements. Document any deviations from standards. Make acceptance decisions based on complete data.
Straightness Inspection Methods Comparison
| Method | Accuracy | Maximum Length | Skill Required | Best Applications |
|---|---|---|---|---|
| Visual | Low | Unlimited | Low | Quick assessment, gross defects |
| Straightedge | Medium | 3 meters | Medium | Most structural steel |
| String Line | Low-Medium | 30 meters | Low | Field inspection, long spans |
| Laser | High | 100 meters | High | Precision alignment, long members |
| Optical | Very High | Unlimited | Very High | Critical applications, research |
We implement appropriate straightness inspection for all angle steel. Clients in Pakistan and Myanmar receive materials that meet their fabrication requirements.
Conclusion
Proper flatness and straightness inspection ensures angle steel fits correctly in ship structures. Systematic measurement prevents fabrication problems and supports quality construction.
-
Learn how precision straightedges can improve your flatness measurement accuracy and efficiency. ↩ ↩ ↩
-
Explore how precision straightedges ensure accurate measurements in various applications. ↩
-
Learn about feeler gauges and their critical role in achieving precise measurements. ↩ ↩ ↩ ↩
-
Discover the importance of ASTM A6 in defining straightness and flatness tolerances. ↩ ↩
-
Learn about the standard tolerances that ensure quality in shipbuilding projects. ↩ ↩ ↩
