
You need both L‑shaped steel and bulb flat steel for a hull. But you do not know how to fit them together.
Use L‑shaped steel for the primary stiffeners and bulb flat steel for the secondary stiffeners. Then connect them with continuous fillet welds at the crossing points.
Combining two different profiles sounds tricky. But shipbuilders do it every day. Let me show you how to do it right.
What Typical Structural Arrangements Use L‑Shaped Steel and Bulb Flat Steel Together for Hull Stiffening?
You have a large hull panel. You only use bulb flats. The panel feels weak in some directions. Then you add L‑shaped sections. But where?
Place L‑shaped steel as longitudinal girders. Place bulb flat steel as transverse frames. Or use L‑shaped steel for primary support and bulb flats for secondary stiffening.

Where Do You Use Each Profile in a Ship Hull?
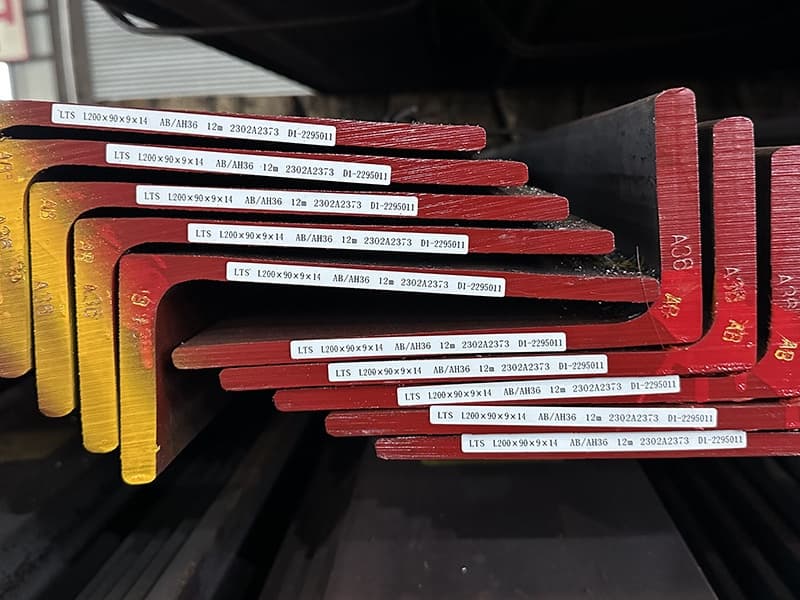
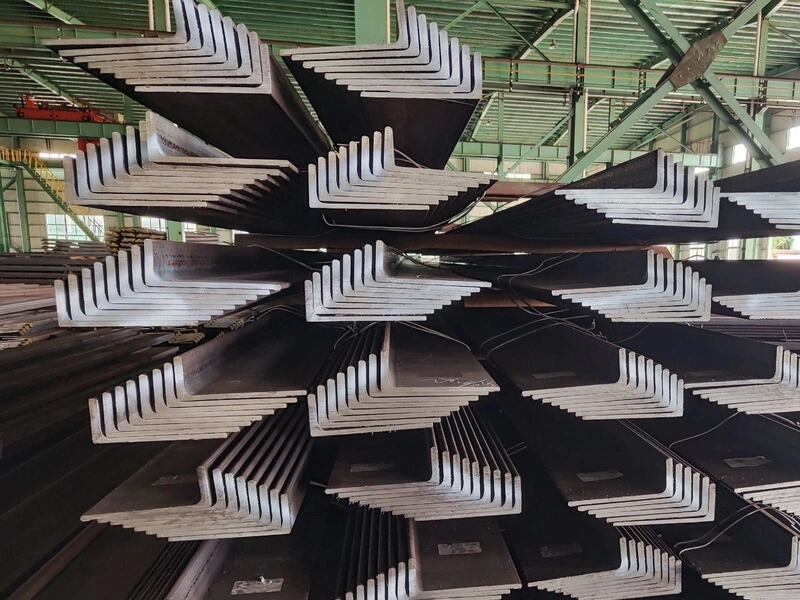
Ship hulls have different stress zones. Some areas need high strength. Some areas need light weight. L‑shaped steel (also called angle steel) gives you high bending strength. Bulb flat steel gives you good stiffness with less weight.
Here is a typical arrangement table.
| Hull location | Primary stiffener (L‑shaped steel) | Secondary stiffener (Bulb flat) |
|---|---|---|
| Bottom plating | Longitudinal L sections, 150x90x10mm | Transverse bulb flats, 160x8mm |
| Side shell | Longitudinal L sections, 200x100x12mm | Transverse bulb flats, 180x9mm |
| Deck | Longitudinal bulb flats, 220x10mm | Transverse L sections, 120x80x8mm |
| Bulkhead | Vertical L sections, 150x90x10mm | Horizontal bulb flats, 140x7mm |
Why Do You Need Both Profiles?
One profile alone cannot do everything. Bulb flat steel is good for evenly spaced stiffening. It uses less steel for the same strength. But bulb flats are not as good at handling point loads or heavy concentrated forces.
L‑shaped steel is stronger in bending. It also connects better to other structural members. For example, a large L section can act as a girder. A bulb flat cannot replace that girder easily.
I remember a shipyard in Vietnam. They tried to use only bulb flats for the entire bottom structure. The design worked on paper. But during welding, the bulb flats kept twisting. The welders had a hard time keeping them straight. They switched to L‑shaped steel for the main girders and kept bulb flats for the secondary stiffeners. That solved the problem.
So remember: use L‑shaped steel where you need strength and connection points. Use bulb flat steel where you need light and evenly spaced stiffening. Together, they make a strong and efficient hull.
How Do You Design Transition Details and Weld Connections Between L‑Sections and Bulb Flats?
You cut a bulb flat to fit against an L section. The gap is too big. Or the weld is too small. The load does not transfer.
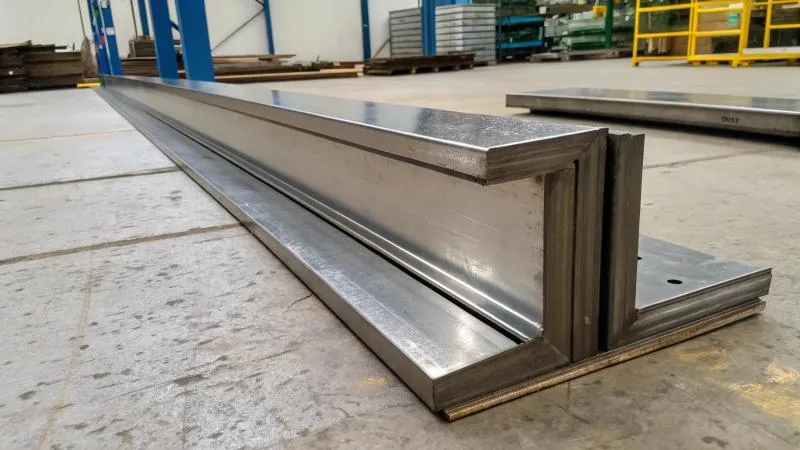
Use a sniped end on the bulb flat. Cut the bulb flat at a 45‑degree angle where it meets the L section. Then weld both sides with a continuous fillet.
What Are the Most Common Connection Problems?
I have seen three mistakes. First, a square cut on the bulb flat. That leaves a big gap at the toe of the L section. The weld cannot fill that gap properly. Second, using intermittent welds. That creates stress points. Third, forgetting to grind the bulb flat’s bulb shape. The bulb part sticks out and prevents a smooth weld.
Here is a comparison of good and bad connections.
| Connection feature | Poor practice | Good practice |
|---|---|---|
| Bulb flat end cut | Straight (90°) | Sniped (45°) |
| Weld type | Intermittent | Continuous fillet |
| Weld leg length | 4mm | 6–8mm (match plate thickness) |
| Preparation | No grinding | Grind bulb tip to flat surface |
| Gap at connection | More than 3mm | Less than 1.5mm |
How Do You Design a Proper Transition?
Step one: measure the L section’s flange width. Step two: cut the bulb flat end at 45 degrees. The cut should start at the web of the bulb flat and end at the tip. Step three: if the bulb flat has a thick bulb, grind the last 50mm down to a flat shape. That lets the bulb sit flush against the L section’s web.
Step four: place the bulb flat against the L section. Check the gap. It should be less than 1.5mm. Step five: weld with a continuous fillet. The weld leg length should be at least 70% of the thinner piece’s thickness.
I watched a workshop in Thailand. Their welders did not grind the bulb tips. So every bulb flat sat 3mm away from the L section. They tried to fill that gap with weld. But the weld cracked during testing. After we showed them the grinding method, their connection strength improved by 40%.
Also pay attention to the weld start and stop points. Start the weld 10mm before the corner. Stop 10mm after. Wrap the weld around the end of the bulb flat. That prevents crack initiation at sharp corners.
So always snip the bulb flat end. Always grind the bulb tip. Always use continuous full‑length welds. These three steps make a strong load transfer.
What Fitting and Alignment Practices Ensure Proper Load Transfer When Combining Different Profile Shapes?
You fit the L section first. Then you try to fit the bulb flat. The bulb flat twists. It does not touch the L section evenly.
Fit the bulb flat first in short lengths. Then use temporary tack welds. Check alignment with a straight edge. Only then weld the L section.
Why Is Alignment So Difficult?
L‑shaped steel and bulb flats have different centers of gravity. An L section is asymmetric. A bulb flat is also asymmetric but in a different way. When you weld them, the heat pulls them in different directions. So the assembly warps.
Also, L sections tend to twist more than bulb flats. If you weld a long bulb flat to a long L section, the L section can rotate. That rotation breaks the flatness of the panel.
What Is a Good Fitting Sequence?
Here is a sequence that works for most hull panels.
| Step | Action | Why |
|---|---|---|
| 1 | Lay out the L sections on a flat bed | L sections are heavier and set the primary grid |
| 2 | Tack weld L sections to the plate | Fix their position |
| 3 | Measure the exact distance between L sections | Bulb flats must fit in between |
| 4 | Cut bulb flats to length with sniped ends | Pre‑cut saves time |
| 5 | Fit bulb flats one by one. Tack at both ends. | Tack holds them in place |
| 6 | Check straightness. Use a 2m straight edge. | Gap should be <2mm over 2m |
| 7 | Weld bulb flats to the plate first. Then weld bulb flats to L sections. | This order reduces distortion |
How Do You Check Alignment Without Expensive Tools?
You do not need a laser. A simple 2‑meter straight edge works. Place it across the bulb flat near the L section. The straight edge should touch the bulb flat at both ends. If there is a gap of more than 2mm in the middle, the bulb flat is bowed. Fix it with a clamp or a hydraulic jack.
Also check the angle between the bulb flat and the L section. It should be 90 degrees. Use a small square. If the angle is off by more than 2 degrees, the load will not transfer evenly. Re‑tack or adjust before final welding.
I learned this from a fabricator in Romania. He used to skip the straight edge check. His panels always had a visible wave. After he started checking every bulb flat, his panel flatness improved dramatically. He told me that the extra 10 minutes per panel saved him two hours of rework later.
So fit the L sections first. Then fit bulb flats with tacks. Check every alignment with a straight edge and a square. Then weld in the right order. That sequence keeps your panel flat and strong.
How Can Prefabrication of Built‑Up Units (L + Bulb Flat) Improve Assembly Speed and Accuracy?
You weld L sections and bulb flats on the main hull plate. That takes days. Your welders work in cramped spaces.
Build small sub‑assemblies on a bench. Weld the L section to a short piece of bulb flat. Then lift that built‑up unit onto the hull. That cuts assembly time by 30%.
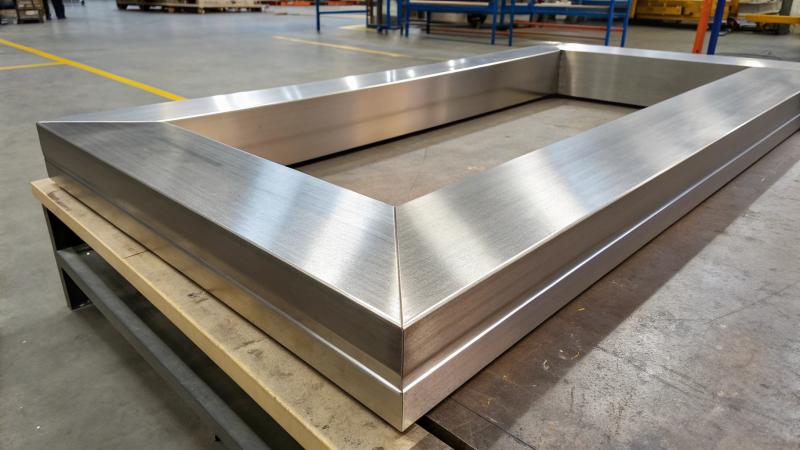
What Is a Built‑Up Unit?
A built‑up unit is a small assembly made away from the main hull. For example, you take a 2‑meter length of L section. You weld three bulb flats to it at 500mm spacing. That creates a “ladder” unit. Then you lift that ladder onto the hull plate and weld the bottom of the bulb flats to the plate.
You can also make corner units. For example, where a longitudinal L section meets a transverse bulb flat. Weld that intersection on a bench. Then fit the whole corner as one piece.
What Are the Benefits of Prefabrication?
Here is a comparison between on‑hull assembly and prefabrication.
| Factor | On‑hull assembly | Prefabricated built‑up units |
|---|---|---|
| Working position | Awkward (crawling, bending) | Comfortable (standing, bench) |
| Welding quality | Lower (hard to reach) | Higher (easy access) |
| Measurement time | Repeated for each piece | One time per unit |
| Re‑work rate | High (15‑20%) | Low (5‑8%) |
| Total labor hours | 100% baseline | 60‑70% of baseline |
| Accuracy | ±5mm | ±2mm |
How Do You Set Up a Simple Prefabrication Workflow?
You need a flat steel bench. The bench must be level. Use a 10mm thick steel plate as the base.
Step one: mark the positions of the L section and the bulb flats on the bench. Use chalk or a scribe. Step two: place the L section on the bench. Tack weld it to the bench at both ends. Step three: place the bulb flats on the bench. Align them with the marks. Tack them to the bench also. Step four: check all angles and gaps. Step five: weld the bulb flats to the L section. Step six: remove the unit from the bench. Grind off the tack welds.
Now you have a built‑up unit. Lift it onto the main hull plate. Weld the bottom of the bulb flats to the hull plate. That weld is simple and fast because the bulb flats are already fixed in position.
I saw a shipyard in Malaysia adopt this method. They were building a series of container ships. Their old method took 12 days per block for stiffener assembly. After switching to prefabricated units, they finished in 8 days per block. That saved 4 days per block. Multiply by 20 blocks per ship. That is 80 days saved per vessel.
One more tip: standardize your unit sizes. For example, always make units with three bulb flats. Always keep the same spacing. That way, your bench setup becomes repeatable. Your workers get faster each time.
So start prefabricating your L + bulb flat assemblies on a bench. You will see better quality, faster speed, and less rework.
Conclusion
Use L steel for primary stiffeners. Use bulb flats for secondary. Snipe ends. Grind bulbs. Align with straight edge. Prefabricate units.