
Rework on marine angle steel assemblies quietly eats your schedule and margin. A gouged weld, a straightened frame, a re-cut bracket — every one pushes your delivery date back. The good news: most rework is predictable, and you can stop it before the first arc.
To reduce rework when fabricating marine angle steel assemblies, control fit-up before welding: check root gaps, alignment, bevels and tacks against your approved WPS and IACS Rec. 47, clean every joint surface, and fix the cause from your rework log — not just the weld.
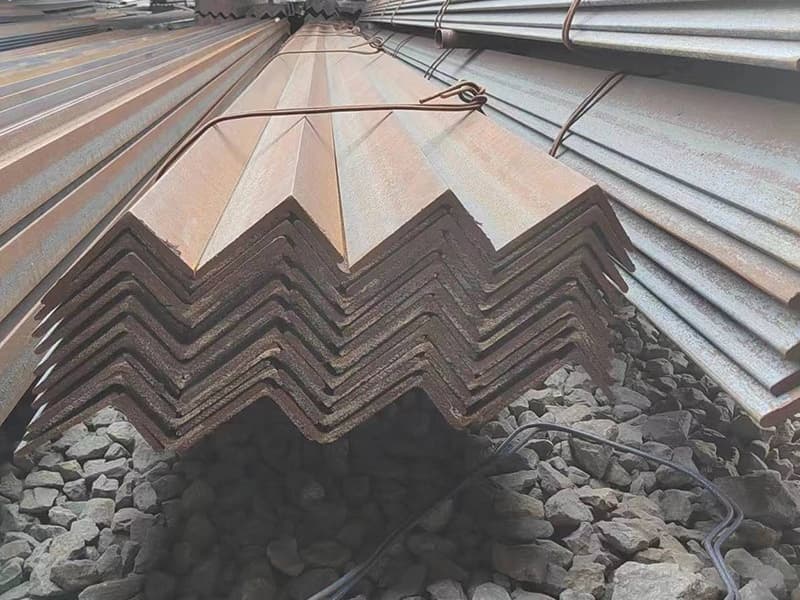
I have sold marine angle steel to shipyards for years, and I keep hearing the same sentence from fabrication managers: the steel was fine, the welds were not. When we dig into the rejects together, the story almost never starts at the welding torch. It starts a week earlier, at the bench — a root gap nobody measured, a bevel ground by eye, a tack weld treated as a temporary thing. Shipbuilding research points the same way: weld shrinkage and dimensional drift are among the largest single sources of errors in hull assembly, and most of them are discovered only when the pieces do not fit. So the question is not how to fix rework faster. It is how to make the correct weld the easiest weld to make the first time. In this article I will walk you through the three places where rework on marine angle steel assemblies actually begins, and what we tell our own customers to do about each one.
Why Does Most Marine Angle Steel Rework Start Before the First Weld?
Fabrication managers blame the welder. The data blames the bench. Excessive root gaps, mismatched edges and weak tacks force the welder to improvise, and improvised welds fail inspection.
Most marine angle steel rework traces back to a handful of repeat causes set up before welding: poor fit-up, contaminated joint surfaces, unclear drawings and undocumented acceptance criteria. Fix these at the bench and the weld defect rate drops with them.
The Job Pack Rule
Every assembly that leaves our warehouse goes to a bench somewhere. That bench needs answers before the first tack: which drawing revision, which weld symbol, which welding procedure, which material grade and heat number, and which inspection hold points apply. When those answers are missing, the welder guesses. A fillet that should be intermittent gets run continuous. A cosmetic weld gets built to structural size. Each guess is a small bet against your inspection schedule, and enough small bets eventually lose.
I ask customers to build a one-page job pack per assembly. It takes a supervisor twenty minutes to assemble and saves hours of rework. If your welder has to ask whether a joint is structural, the job is already exposed.
Fit-Up: The Check That Must Come Before the Arc
Fit-up checks belong before welding, not after. Root opening, alignment and angular condition should be verified with gauges, squares, clamps and fixtures — not with a glance. Classification society rules say this plainly: fit-up shall be checked for dimensional accuracy before welding, and special attention paid to alignment where visual inspection is not possible. On marine angle steel, that includes the root of the angle itself, where the web meets the flange and defects like laps from rolling can hide until the weld opens them up.
Cut the Repeat Causes at the Source
The table below is the version we share with fabrication teams. Each cause produces a predictable weld defect, and each has a first-time fix that costs less than the repair.
| Root cause at the bench | Weld defect it produces | First-time fix |
|---|---|---|
| Excessive root gap | Burn-through, excess penetration, distortion | Release the tack, close the gap, or insert a piece before welding |
| Mismatched or unparallel edges | Lack of fusion, stress concentration | Re-align and check angular misalignment before tacking |
| Inconsistent bevel angle | Incomplete penetration, uneven throat | Re-bevel to the WPS; never free-hand it |
| Rust, scale, paint, oil, moisture | Porosity, inclusions, arc instability | Grind the weld zone bright; clean 20 mm either side of the joint |
| Weak or contaminated tacks | Cracks buried in the final weld | Treat tacks as production welds; same size, same discipline |
| Unclear drawing or weld symbol | Wrong weld size, wrong length | Confirm interpretation in the job pack before release |
One of our regular buyers runs a frame shop that builds ship section assemblies. Their supervisor marks fit-up on a whiteboard per bay, and the crew that finds its own gap before welding gets a quiet word of thanks instead of a repair order. Their weld repair rate stayed low even through a rushed delivery season. Nothing exotic — just the check done early.
There is one more early check worth copying: the first-off inspection. Before a batch of identical assemblies runs, a supervisor or lead welder inspects the first completed piece — joint preparation, early bead profile, leg length measured with a gauge rather than by eye. A weld can look neat and still fail the required throat thickness. Catching that on piece one costs an hour. Catching it on piece forty costs a week, because every piece before it is now suspect and the class surveyor will want to see the ones you already shipped into the next block. In-process checks catch problems when the correction is small and the cause is still visible on the bench. Final inspection is where costs get discovered, not prevented.
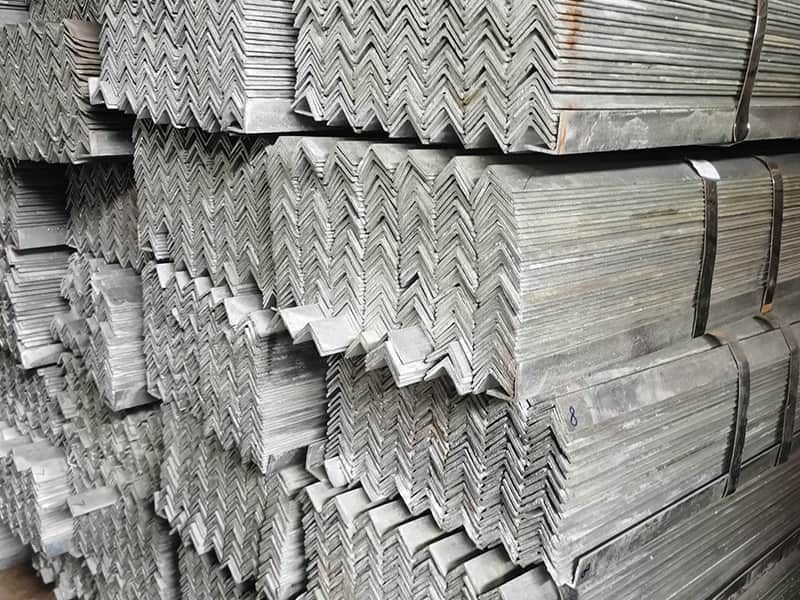
How Do Fit-Up Gaps and Alignment Rules Decide Whether an Assembly Passes?
A gap that looks acceptable to the eye can fail the welder and the surveyor alike. The industry has written rules for exactly this, and they are easier to follow than to argue with.
IACS Rec. 47 sets the gap, alignment and fit-up limits for ship structure, and class rules require the root opening to stay within twice the gap specified in the approved WPS. Exceeding them locally means documented remedial work, not a bigger weld.
What IACS Rec. 47 Actually Asks For
IACS Recommendation No. 47, the Shipbuilding and Repair Quality Standard, is the reference most yards build their own workshop standards on. It tabulates standard and limit ranges for plate misalignment, gap size, angular alignment, weld profile and distortion. A measurement inside the standard range is accepted. Beyond the limit range it is rejected and reworked. The band in between gets repaired by agreement. The important habit is that your yard writes these numbers into its own workshop standard and trains the fitters to measure against them, so fit-up is judged by a gauge and not by mood.
The guidance also covers edge quality. Edges intended for welding shall be planar, free of local discontinuities, and within the surface roughness and straightness limits. Poor edge preparation — a closed butt or single-V joint left rough with slag and burrs — leads to poor side-wall fusion no matter how good the welder is. On angle steel, cut ends from shear or flame cutting carry burrs and dross; a quick grind of the contact faces is the cheapest insurance you will buy.
Root Gaps: The Twice-the-Spec Rule
The rule worth memorizing comes from classification society assembly requirements: the root opening shall not exceed twice the specified gap given in the approved welding procedure. Exceed the permitted gap locally over a limited area, and remedial work is required within the limits the standard allows. The proper fix for a large gap is usually to release enough of the completed weld, adjust the elements, and close the gap — or fit an insert piece. What it is not is bridging the gap with extra weld metal, which overloads the joint with filler, adds heat, and pulls distortion into the assembly.
Why does the gap matter so much on angle sections in particular? Because the geometry fights you twice. The root of the angle sets the fillet’s position along both legs, so a drifting gap changes the effective throat on each side of the joint. And the flange edges of rolled angle carry the mill tolerance, so two bars of nominally the same size can sit with different gaps at the same joint. Measuring each joint beats assuming each bar. It takes the fitter a few seconds with a gap gauge and removes the most common single reason a weld comes back from visual inspection.
A practical ceiling many yards apply for member alignment is misalignment of about 2 mm on thinner sections, tightening to zero at highly stressed intersections. Whatever numbers your yard uses, the point is the same: alignment is checked and recorded before the arc, and the smoothest possible stress path is kept through the joint.
Tack Welds Are Production Welds
Tacks hold the assembly, but weak or contaminated tacks become defects buried inside the final weld. They need adequate size, spacing and sound placement, and on critical work they are removed or fully incorporated per the approved procedure. I stood in a customer’s workshop once watching a fitter tack a bracket with a stub of the wrong electrode he had in his pocket. It held — and two weeks later that exact spot came back from NDT. The tack was never temporary. It was the start of a repair order.
| Fit-up fault | Rule / typical limit | What the fitter does first |
|---|---|---|
| Root gap over spec | Not more than 2× the WPS gap, locally, limited area | Release tack, adjust, close gap or fit insert |
| Edge misalignment | Within yard standard based on IACS Rec. 47 | Re-align; check both linear and angular condition |
| Rough or contaminated edges | Planar, clean, within roughness limits | Grind smooth, remove scale, slag, oil and moisture |
| Undersized or cracked tacks | Same discipline as production welds | Gouge out and re-tack properly before proceeding |
| Distortion from earlier welds | Within standard range of Rec. 47 | Plan correction method before welding the next seam |
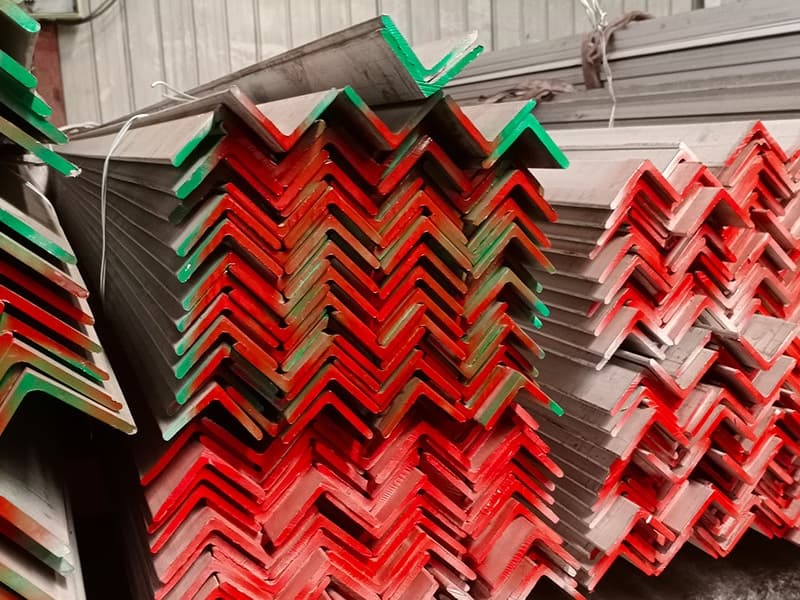
Which Fixing Habits Keep the Same Defect Coming Back?
Some shops fix the same porosity problem every month. Others fix it once. The difference is rarely the welder — it is what the shop does after the repair.
The same defect repeating means the cause was never removed: control consumable storage, record proven welding parameters, manage heat input and sequence, and categorize every rework entry by cause so the pattern gets fixed, not just the weld.
Consumables and the Damp Storage Room
Low-hydrogen electrodes need controlled storage and baking per the manufacturer’s instructions. Wire needs protection from dirt and moisture. A damaged spool or a dirty liner shows up downstream as spatter, erratic feeding and unstable penetration that looks like operator error. Keep filler metals identified and separated by type — the time saved by leaving part-used electrodes loose in the bay gets lost twice over when the wrong one gets picked, or when traceability is questioned during a class audit. Gas supply deserves the same attention: check the regulator and hoses before the shift, and do not cure porosity by opening the flow, because excessive flow draws air into the shield and makes it worse.
Heat Input and Sequence
Distortion is rework in slow motion. The weld zone expands when heated and contracts as it cools, and if restraint blocks that contraction you inherit residual stress and angular or buckling distortion that changes whether frames, brackets and adjoining blocks fit. Heat input is governed by current, voltage, travel speed and process efficiency — a slower pass or an oversized fillet can put more energy into the panel than the approved procedure needs. The practical controls are boring and effective: balanced welds, back-step technique, alternating sides, tack spacing that restrains without locking, and a planned sequence that spreads heat across the assembly instead of concentrating it. Predict where the heat will pull the work, then plan the clamping around that movement rather than correcting it afterwards.
Read the Rework Log Like Production Data
Do not record a rejection as just a failed weld. Categorize the cause: fit-up, contamination, parameter drift, consumable condition, drawing interpretation, access, distortion or handling damage. Then review the pattern with the people doing the work. Porosity on one bay points to gas coverage, draughts or equipment condition. One assembly that keeps needing straightening points to its fixture and sequence. Weld size rejections point to drawing clarity and first-off checks before they point to a person. Experienced welders are usually the first to know when a joint design or instruction sets the job up badly — and their feedback is the cheapest consulting you will ever get.
This is also where the supplier relationship quietly shows up. Our customer Gulf Metal Solutions in Saudi Arabia told us the packaging and the stable surface quality were what separated us from previous suppliers, but what they valued most in their fabrication shop was that every bar arrived with matching documentation, so their heat-number-to-certificate check took minutes instead of a day. When the material trace is clean, the rework log stays short. If your rework entries cluster around material condition or missing certificates, that is a supplier conversation, not a welding one.
One last habit that keeps defects from repeating: keep the equipment honest. Poor earth connections, worn contact tips, blocked liners and inaccurate meters all create symptoms that get blamed on the welder. A short daily check of the machines near the angle assemblies — cables, gas connections, feed rollers — costs less than one morning of chasing an intermittent fault mid-shift. Keep spare tips and nozzles at the bay, not in the store room, so a worn part does not stay in service just because the replacement is a walk away. Most of the porosity mysteries I have watched shops argue about were solved by a hose clamp and a fresh liner.
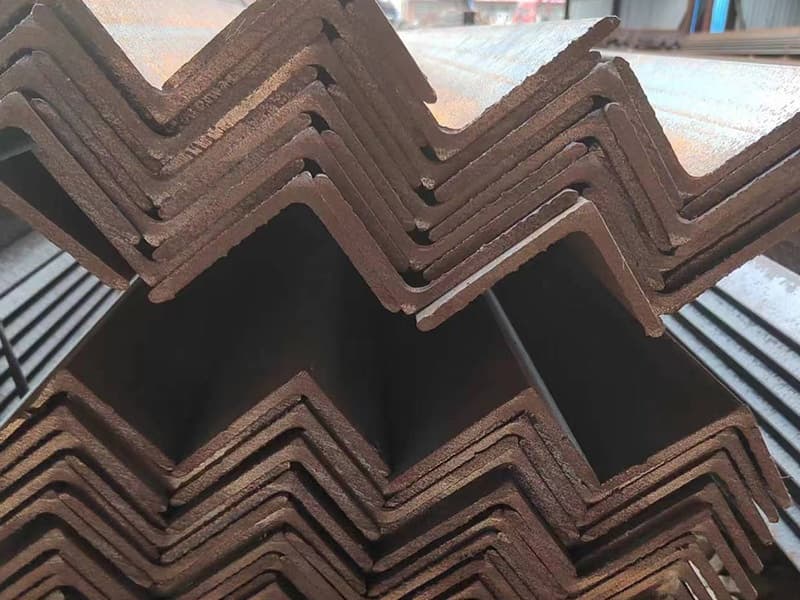
The comparison below is how I frame the choice when a customer calls about a distorted assembly.
| Correction method | When it works | Risk if uncontrolled | Cost profile |
|---|---|---|---|
| Mechanical straightening (press, strongback) | Access allows; panel and restraint known | New residual stress if forced past yield | Predictable labour, low material cost |
| Controlled line or spot heating | Temperature, location and sequence controlled | Random heating shifts stress and distortion elsewhere | Cheap per fix, expensive when repeated |
| Cut out and replace the member | Repeated repairs on a critical assembly | None if done early — often cheapest overall | Higher steel cost, lowest schedule risk |
The third row surprises people. Replacing one bracket is often cheaper than heating it three times. Measure, then decide.
Conclusion
Control fit-up before the arc, treat tacks as production welds, and fix the cause in the rework log — first-time quality on marine angle steel assemblies is a bench habit, not a welding trick.