
Wrong-size angle steel rarely fails at the mill. It fails at the saw, where a 6 mm gap stops a block. Here is how we gate size first.
Wrong-size marine angle steel is stopped by three gates: a measured goods-in check against the standard tolerance, a bundle tag that carries size and heat number, and a first-piece check at the saw. Miss any one gate and the wrong bar reaches the assembly line.
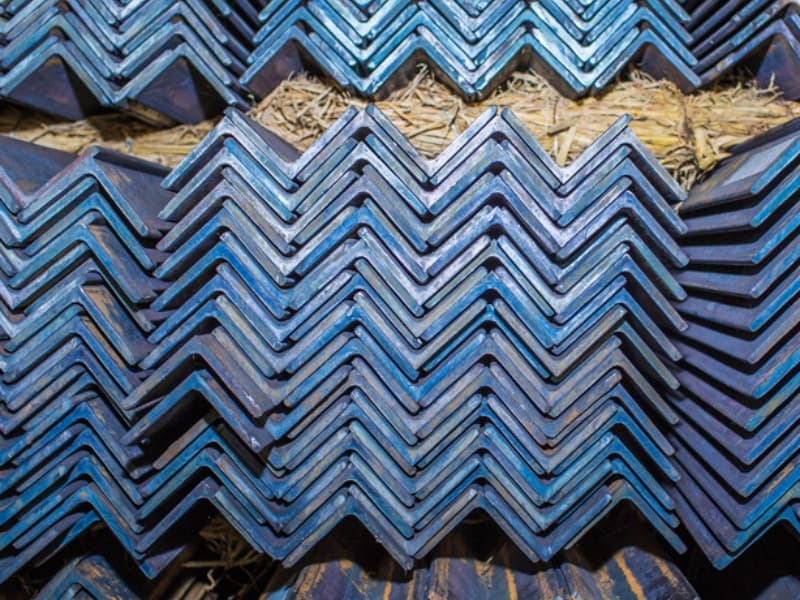
Most yards treat a wrong-size bar as a supplier problem. In my experience it is a handover problem. The steel passes through four pairs of hands before it reaches a fitter, and at each handover the size is described in words rather than measured with a tool. A tag says 100×10, the clerk reads 100×10, the saw operator trusts the tag, and the fitter finds out the truth when the bracket will not sit. Good yards do not add more paperwork at that point. They add three measurements in the right place, and they make the bundle tag follow the steel all the way to the cut.
That is the whole method, and the rest of this article is the detail: where size errors are born, how to check at goods-in without slowing the truck, how to keep look-alike sections apart in the rack, and what a single wrong bar actually costs once it is welded into a block.
Why Does Wrong-Size Marine Angle Steel Reach the Assembly Line at All?
Most wrong bars are not mill errors. They are ordering, picking, or tolerance errors that nobody measured.
Wrong-size marine angle steel usually comes from four places: an ambiguous purchase order, a mill substitution hidden inside a bundle, a picking error between look-alike sections, and a bar that is within tolerance but outside the drawing. Only the last one is not a mistake.
The Order Is Where Most Size Errors Start
The most common root cause I see is a purchase order line that says something like “angle 100×10, 12 m”. That line is missing three things. It does not say whether the section is equal leg or unequal leg. It does not say which standard governs the tolerances. And it does not say whether 10 is the thickness of both legs. A mill clerk filling that line in good faith can ship L100×100×10, L100×75×10, or L100×100×12, and every one of those is defensible against the text.
Write the line the long way. Marine angle steel, equal leg 100×100×10 mm, grade A, CCS certificated, EN 10204 3.1 mill test certificate, length 12 m, EN 10056-2 dimensional tolerance. It takes thirty seconds and it removes the argument. For a broader view of what belongs in a complete enquiry, see our guide to marine angle steel documentation.
A second order-level trap is the mixed-standard delivery. A buyer accepts EN 10056 sections on one line and JIS G3192 sections on the next because both were available. The two standards do not use the same length tolerance and they do not use the same camber allowance, so the same nominal section arrives with two different characters. When those bars meet in the same block, the fitter blames the steel. The real fault is the purchase order.
The Bundle Can Hide a Different Section
Angle bars are bundled nested, leg face against leg face, and the tag is wired to the outside of the bundle. Everything you can see is the outside. If the mill ran short of one size and filled the bottom layer from a neighbouring rolling programme, the bundle still ships, still weighs roughly right, and still carries the correct tag.
I have opened bundles in our Liaocheng warehouse where the top six bars measured 8 mm and the seventh measured 6 mm. That is not fraud. It is what happens when a mill packs to a tonnage target at the end of a shift. The only defence is sampling from more than one layer, which I will come to in the goods-in section.
Within Tolerance Is Not the Same As Right
This is the part that surprises buyers most. A bar can be perfectly conforming and still not match the drawing, because the standard tolerance is wider than the fit-up allowance.
EN 10056-2 allows a leg length tolerance band, a thickness band, a length tolerance, an out-of-square allowance and a straightness allowance. Take a 100×100×10 angle with a leg at the low end of the band and the next bar at the high end. Both pass inspection. Set them back to back for a butt weld and the surface line steps by the difference. Do that across twenty bars and the assembly contains a staircase that no welder can close without grinding.
| Dimension | EN 10056-2 tolerance band | What it means on a 100×100 section |
|---|---|---|
| Leg length, ≤ 100 mm | ±1.0 mm | 99.0 to 101.0 mm is a conforming bar |
| Leg length, 100 to 150 mm | ±1.5 mm | Two conforming bars can differ by 3 mm |
| Thickness, under 10 mm | ±0.5 mm | 9.5 mm passes as a 10 mm bar |
| Thickness, 10 to 20 mm | ±0.7 mm | 9.3 to 10.7 mm on a nominal 10 |
| Thickness, over 20 mm | ±1.0 mm | 19.0 to 21.0 mm on a nominal 20 |
| Length | 0 to +50 mm | A 12 m bar can arrive at 12.05 m |
| Out of square | 1.5% of leg, max 2 mm | Up to 1.5 mm of leg lean at the root |
| Straightness | 0.2% of length | Up to 24 mm of bow on a 12 m bar |
IACS Recommendation 47 uses the same 0.2% figure as its standard straightness value for structural members and recommends holding to 0.1% for good practice. So a bar with 20 mm of bow is legal steel and a bad fit. If your block tolerances are tight, you need to buy to the tighter number, not argue about it after delivery. Our article on fit-up problems with marine angle steel walks through the same tolerance stack at the joint.
How Should You Verify Marine Angle Steel Size at Goods-In?
Measure legs, thickness, squareness and length on a sample from every bundle, at a fixed distance from the end, and record the numbers against the tag.
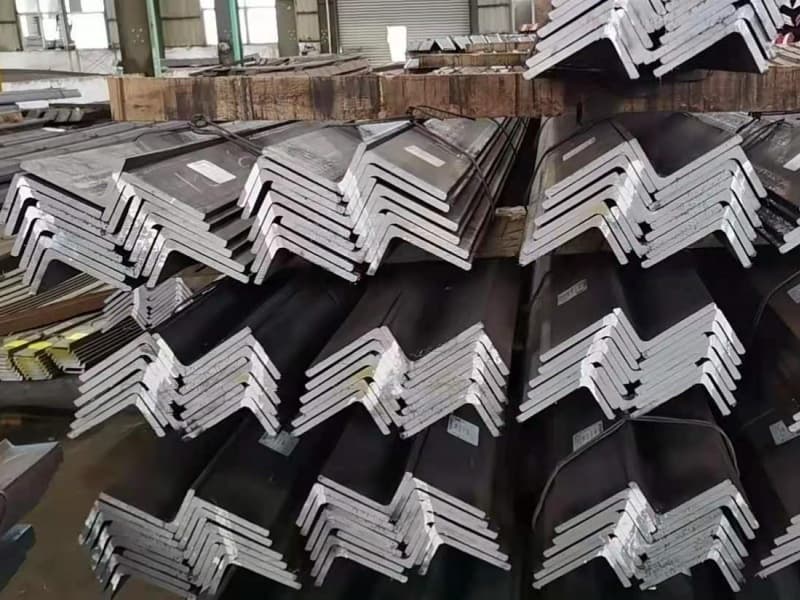
Verify marine angle steel at goods-in by measuring leg length, thickness, out-of-square and length on at least three bars per bundle, taken from the top, middle and bottom layers, at 500 mm from the end, and by weighing the bundle to confirm the section weight per metre.
Measure in the Right Place
The cut face at the end of a bar is the worst place to measure. Shear burrs, flame dross and handling dents all live there, and a caliper closed on a burr reads high every time. Move 500 mm in from the end, clean the scale off with a wire brush, and measure there.
Measure each leg at three points along the section, not one. Hot rolling produces a slight taper, and a leg that measures 100.2 at the toe can measure 99.4 at the root on the same bar. Report the minimum. Thickness gets the same treatment on both legs, because a mill that is running a worn pass will show it on one leg first.
Out-of-square needs no instrument. Stand the bar on a flat plate and look down the leg. If light shows under the toe along the length, you have lean. A 1.5 mm lean on a 100 mm leg is within the standard and still enough to open a root gap on a tight fit.
Three Bars per Bundle, Top, Middle and Bottom
Sampling from the top of the bundle only measures the bars the mill wanted you to see. Pull one from the top layer, one from the middle, and one from the bottom, and measure all three. On a three-tonne bundle that is about ten minutes including putting the bars back.
This is also the point to check that all three carry the same heat number. If the middle bar carries a different heat number from the tag, the bundle is mixed and the whole bundle needs to be treated as suspect until it is re-identified. Under CCS survey practice, that kind of mixing is exactly what the surveyor looks for when he walks the storage area, and it is easier to resolve at the gate than in front of a surveyor.
Weigh the Bundle and Divide by the Pieces
Thickness swaps are hard to see and easy to weigh. Take a bundle of forty 12 m bars tagged as 75×75×6. The section weighs 6.78 kg per metre, so the bundle should come in near 3,254 kg. The same forty bars in 75×75×8 weigh 8.92 kg per metre, or 4,282 kg. That is a one-tonne difference on an identical piece count.
A platform scale at the gate catches that in one reading, and it catches it for the whole bundle rather than for the three bars you happened to pull. Use the weighbridge reading as a screen, not as a substitute for the caliper. If the weight is more than about 3% away from the calculated figure, stop and measure every bar in the bundle.
| Gate check | Tool | Pass criteria | Record |
|---|---|---|---|
| Bundle tag versus PO line | Eyes, PO copy | Size, grade, heat number, length, society all match | Tag photo |
| Leg length | Vernier caliper at 500 mm | Inside the EN 10056-2 band for that leg | Min leg, per bar |
| Thickness, both legs | Vernier caliper, 3 points | Inside band, both legs | Min thickness |
| Out of square | Flat plate, visual | Under 1.5% of leg, max 2 mm | Pass or fail |
| Length | Tape, end to end | 0 to +50 mm against ordered length | Short-bar count |
| Bundle weight | Platform scale | Within 3% of pieces × kg/m × length | Gross weight |
| Certificate match | MTC, tag, spray mark | Heat number identical on all three | Signed line |
Make the Documents Agree With the Steel
The certificate is only useful if it points at the bars in front of you. Check three things on arrival: the heat number on the mill test certificate, the heat number printed on the bundle tag, and the heat number stencilled or painted on the bar itself. When all three agree, the bundle is traceable. When one is missing, you have a bundle you cannot defend to a surveyor, no matter how good the steel is.
This matters more for high-strength sections than for mild steel, because a DH36 bar used where AH36 was specified is a design change, not a paperwork slip. Many yards use a different colour of end paint for higher-strength sections for exactly this reason. Our own rule before dispatch is that the tag carries the size in marker as well as on the printed label, because printed labels rub off between the yard and the port more often than anyone expects.
How Do You Stop Size Mix-Ups Between the Warehouse and the Saw?
Separate look-alike sizes physically, keep one tag with one bundle, and measure the first piece off every new bundle before the saw runs the rest.
Stop size mix-ups by storing look-alike angle sections in separate bays with colour-coded end paint, keeping the bundle tag attached until the last bar is cut, and measuring the first piece from every bundle against the cut list before releasing the rest of the kit.
The Look-Alike Pairs That Cause Most Mix-Ups
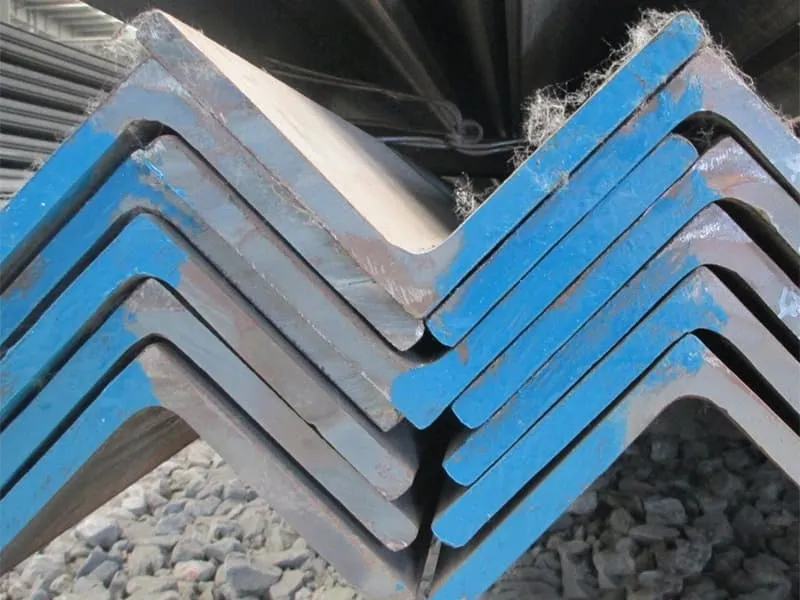
Most picking errors do not involve two obviously different sections. They involve two sections one step apart in the size table, stored in adjacent bays, with the same finish and often the same length. Under warehouse lighting, at seven in the morning, they look identical.
| Pair | Difference | How to tell them apart at the rack |
|---|---|---|
| L90×90×8 and L100×100×8 | 10 mm leg, 12% weight | Tape the leg; 90 vs 100 is visible once measured |
| L75×75×6 and L75×75×8 | 2 mm thickness, 31% weight | Caliper on the leg edge; also obvious on the scale |
| L100×100×10 and L100×100×12 | 2 mm thickness, 19% weight | Caliper at the toe, both legs |
| L125×80×8 and L100×75×8 | Unequal leg pair, 18% weight | Measure both legs; never assume equal |
| L100×75×8 and L100×75×10 | 2 mm thickness on both legs | Caliper plus bundle weight |
The weight column is the useful one. A picker cannot see a 2 mm thickness difference by eye, but the scale can, and so can the crane operator when the lift feels wrong. Some yards print the kg/m on the bay label for exactly this reason. It costs nothing and it gives the picker a second reference that does not depend on reading a tag.
Leg Orientation on Unequal Angles
Unequal angles add a failure mode that equal angles do not have. An L125×80×8 has a long leg and a short leg, and the drawing cares which one is vertical. Fit it the other way round and the section is the right size but the wrong shape in place, which reads at the assembly line as a wrong-size bar.
The fix is in the cut list, not on the floor. Every unequal leg line should state the orientation in words, long leg vertical or long leg horizontal, next to the piece number. When a fitter has to interpret the drawing to work out orientation, he will get it right most of the time, and most of the time is not a quality system.
Keep the Tag on the Bundle, Not on the Rack
The single most effective warehouse rule I know is dull: the tag stays with the bundle until the last bar is cut. Not copied to the rack, not photographed and filed, not rewritten on a whiteboard. Physically attached.
Rack labels are useful for finding a size. They are dangerous as the only record, because a rack label describes the bay, not the steel. When a bundle is split between two bays, or when a part bundle is returned, the rack label keeps saying 100×10 while the bars underneath are 100×12. Then the picking error is invisible until the saw.
Colour coding works well as a second layer, with one caveat. Mills already use end paint to mark grade, and yards use end paint to mark project. Those two codes collide. Pick one code to carry grade and one to carry size or project, write the code on the board at the bay, and repaint the ends when a bundle is split.
Measure the First Piece at the Saw
The last gate before the assembly line is the saw, and it takes one measurement. Cut the first piece of a new bundle, measure it against the cut list, and only then release the rest of the kit.
This catches everything the warehouse missed, because it checks the bar after it has been handled, lifted and cut. It also catches the case where the section is right and the cut length is wrong, which the assembly line reports as a size problem just the same. Write the piece number on the cut piece before it leaves the saw. CCS survey guidance is explicit on this point: the yard must have a working method to transfer the mill marking into a piece number, and the remnant left on the rack must still be identifiable afterwards. If the remnant cannot be identified, the next kit made from it is untraceable.
What Does One Wrong Bar Cost Once It Reaches the Assembly Line?
A wrong bar found at goods-in costs a phone call. The same bar found after welding costs a gouging crew, a surveyor visit and a schedule slip.
One wrong bar costs least at goods-in and most after welding: a 150×150×12 bar carries about 325 kg of steel, but the real loss is the block hours spent cutting it out, re-preparing the joint, re-welding, and re-inspecting the repair.
The Cost Curve Is Steep and It Is Not About Steel
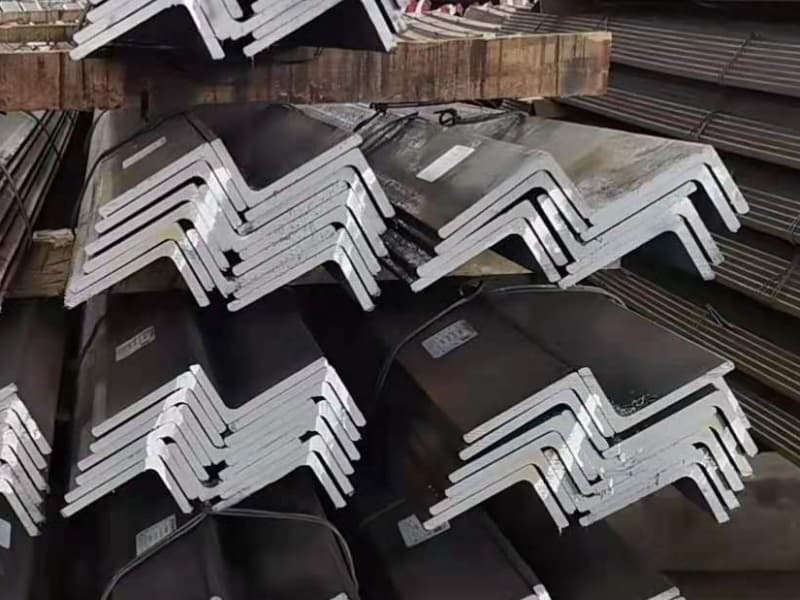
A 12 m bar of 150×150×12 weighs roughly 325 kg. At any normal section price the steel itself is the smallest part of the loss. The cost sits in what happens around it.
| Discovery point | Typical response | Delay | Who absorbs it |
|---|---|---|---|
| Goods-in, before unloading | Reject the bundle, hold the truck | Hours | Supplier |
| In the rack, before cutting | Re-pick from another bundle | Under an hour | Yard |
| At the saw, first piece | Re-cut from correct stock | Half a shift | Yard |
| After the kit is cut | Re-cut, re-number, re-kit | One shift | Yard |
| After fit-up, before welding | Cut out, re-fit, re-tack | One to two shifts | Yard |
| After welding and inspection | Gouge, re-prepare, re-weld, re-inspect | Several shifts, plus surveyor | Yard and schedule |
The pattern is consistent: every stage you move the discovery downstream, the cost multiplies by roughly three to five, and the steel value stays flat. That is why the goods-in measurement is worth doing even when the truck is waiting and the gate is busy.
Why the Welded Case Is Worse Than the Arithmetic
Once the bar is welded into a hull structure, the repair stops being a fabrication decision. If the member is a strength member, the repair procedure goes to the classification surveyor, and the surveyor will want to know what went wrong upstream. In a yard with no record of the goods-in measurement, that conversation is short and unpleasant. In a yard that can show three measured bars per bundle and a signed gate sheet, the conversation is about the repair, not about blame.
I have seen a yard spend a full week on a repair that started with one bracket cut from an L100×75×8 bundle that had been tagged L100×75×10. The steel was worth very little. The week was worth a great deal more than the entire bundle.
A Gate That Costs Ten Minutes
The whole system is three habits. Measure three bars per bundle at goods-in and write the numbers down. Keep the tag on the bundle until the last cut. Measure the first piece at the saw against the cut list. A receiving clerk and a saw operator can hold all three without extra software.
When we ship angle steel to buyers like Gulf Metal Solutions in Saudi Arabia, the packing list matches bundle for bundle and every bundle tag carries size, grade, length and heat number, because their receiving team works the same way ours does. That is not a favour to the buyer. It is what makes a claim-free delivery possible at Dammam, where the inspection has to finish inside the port window.
If you want a second check on the numbers before you order, our guide to comparing marine angle steel sizes by weight shows how far the section weight moves between neighbouring sizes, which is the same arithmetic the weighbridge uses at your gate.
Conclusion
Gate the size at goods-in, keep the tag on the bundle, and measure the first piece at the saw. Three habits keep wrong bars off the line.