
Your steel plates leave the mill in perfect condition. They arrive at your yard bent, scratched, or rusted. You pay for damage you did not cause.
To avoid damage during marine steel plate transportation, use proper stacking and securing inside containers or on flat racks, place wooden dunnage and edge protectors between layers, follow correct loading order (thickest plates at the bottom), and perform immediate receiving inspections to document any transit damage.
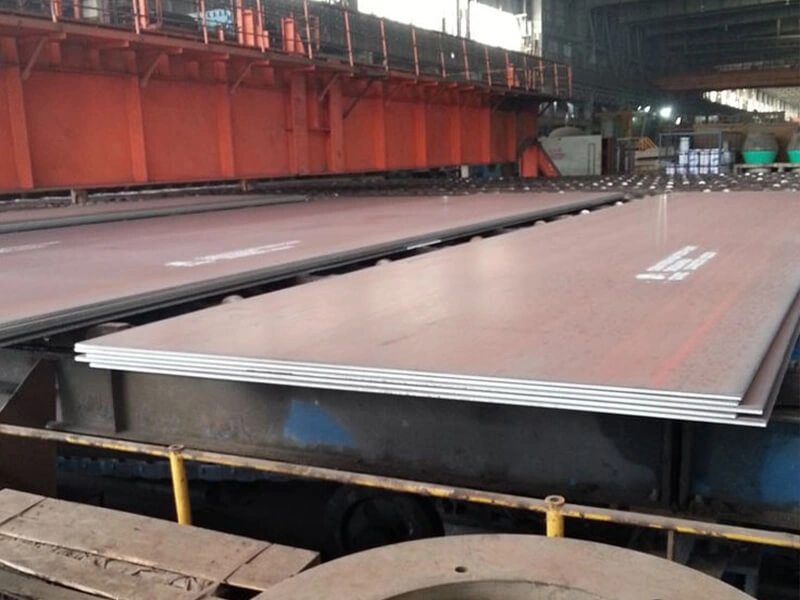
I am Zora Guo from cnmarinesteel.com. I have shipped thousands of tons of marine steel plates to shipyards across Asia and the Middle East. Damage during transport is a real problem. But most of it is preventable. Let me show you how.
How to Stack and Secure Plates in Containers or on Flat Racks to Prevent Shifting and Edge Damage?
You load plates into a container. The truck hits a bump. The plates shift. Edges bang against each other. You get dents and scratches.
To prevent shifting, stack plates flat, not on edge. Use steel straps or heavy‑duty lashing belts to secure the stack to the container floor or flat rack. For flat racks, weld temporary stop bars at the lower edge of the stack. For containers, wedge wooden blocks between the stack and the container walls. Do not leave gaps. A shifting load of 20 tons can punch through a container wall. Secure every layer.
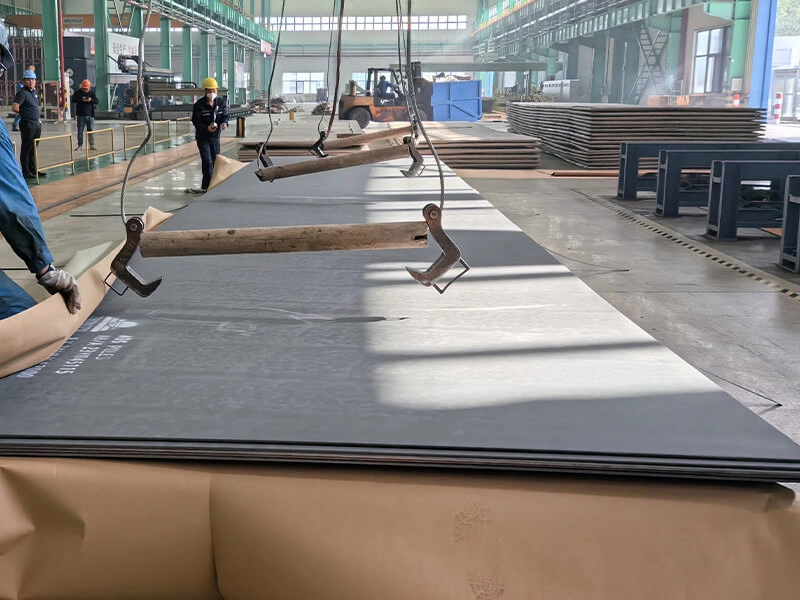
Let me explain the best practices for different transport modes.
Container Loading (20ft or 40ft)
Most marine steel plates ship in standard containers. Follow these rules:
- Stack flat, never on edge. Plates on edge will tip and fall.
- Center the stack. The heaviest part of the container should be over the axles. For a 40ft container, place the stack slightly forward of center.
- Use dunnage between layers (wooden planks) to create friction and prevent sliding.
- Strap the stack with at least two steel bands vertically and two horizontally. The bands should be tensioned enough to compress the stack slightly.
- Fill side gaps with wooden wedges or inflatable dunnage bags. The stack should not be able to move left or right.
- Block the front and back of the stack with wooden beams against the container doors.
Flat Rack or Breakbulk Shipping
For very long or heavy plates that do not fit in containers, use flat racks or breakbulk on a vessel.
- Weld stop bars at the bottom of the stack on the flat rack. These prevent the plates from sliding off the pallet.
- Use multiple lashing points – at least four per stack.
- Cover the stack with tarps if shipping on open deck (protects from salt spray).
Securing Hardware
| Item | Purpose | Recommended specification |
|---|---|---|
| Steel strapping | Hold stack together | 32mm wide, 0.8mm thick, with crimp seals |
| Nylon lashing straps | Secure stack to container | 5‑ton breaking strength, ratchet tensioners |
| Wooden dunnage | Separate layers | 50x50mm or 50x75mm hardwood |
| Edge protectors | Prevent straps from cutting into plates | Plastic or metal corners |
A Real Example
A shipment of 50 tons of 20mm plates left our mill properly stacked. The customer received them with bent corners. The cause? The truck driver had made a hard stop, and the plates slid forward because there were no wedges at the front of the container. After that, we added wooden blocks to every container. No more shifting.
Why Are Wooden Dunnage, Edge Protectors, and Proper Strap Tension Critical for Safe Transit?
Two steel plates stacked directly on top of each other will rub. The friction wears off the mill scale. Water gets in. Rust starts. Also, steel straps can cut into the plate edges like a knife.
Wooden dunnage placed between layers creates air gaps, prevents direct metal‑to‑metal contact, and absorbs vibration. Edge protectors (plastic or metal corners) go under the straps at the edges of the stack, stopping the straps from biting into the plate. Proper strap tension – tight enough to compress the stack but not so tight that it bends the top plates – keeps everything stable. Without these three elements, plates arrive scratched, rusted, or bent.

Let me detail each element.
Wooden Dunnage – The Layer Separator
Dunnage is untreated hardwood (pine, oak, or poplar) cut into planks. Place them between every layer of plates.
Dunnage specifications:
- Size: 50mm x 50mm or 50mm x 75mm cross‑section. Length equal to the plate width.
- Spacing: Every 1‑1.5 meters along the length of the plate.
- Alignment: Stack dunnage directly above the dunnage below (vertical columns). This transfers load straight down.
- No overhang: Dunnage should not stick out beyond the plate edges.
Why it works: The wooden planks create a small gap between plates. Air circulates, preventing moisture buildup. The soft wood absorbs shocks. And the stack does not slide because the wood bites into the mill scale.
Edge Protectors – Stopping the Saw Effect
Steel straps are under high tension. When a truck bounces, the strap vibrates against the sharp edge of the top plate. Over a long journey, the strap can cut several millimeters into the steel.
Edge protectors: Small L‑shaped pieces of plastic or galvanized steel that go between the strap and the plate edge. They distribute the strap pressure over a wider area.
Where to place: At every point where a strap touches a plate edge – corners and along the sides.
Proper Strap Tension
Too loose: The stack shifts. Too tight: The top plates bend upward (like a smile) or the straps snap.
How to get it right:
- For steel strapping, use a tensioner tool. Apply tension until the strap is snug, then one or two more clicks. The strap should not leave a deep dent in the wood dunnage.
- For nylon lashings, use a ratchet. Tighten until the stack is firm, but you can still push the strap sideways with moderate force.
A Real Example
A customer in Qatar received plates with deep grooves cut into the edges. The supplier had used steel straps without edge protectors. The 10,000 km journey by sea and truck had sawed into the plates. The grooves were 3mm deep. The plates were rejected. The supplier paid $12,000 for replacements. Now we use edge protectors on every strap.
How to Plan Loading Order (Thickest Plates at Bottom) and Weight Distribution to Avoid Bending and Indentation?
You stack 10mm plates on top of 20mm plates. The 10mm plates are too thin to support the weight above. They bend.
Always load thickest plates at the bottom of the stack and thinnest on top. Thick plates (20mm+) are stiff enough to support several layers above them without bending. Thin plates (under 10mm) bend easily. Also distribute weight evenly across the container or flat rack. Do not concentrate all the heavy plates on one side – that can cause the container to tip or the truck to become unbalanced. For containers, keep the center of gravity low and centered over the axles.
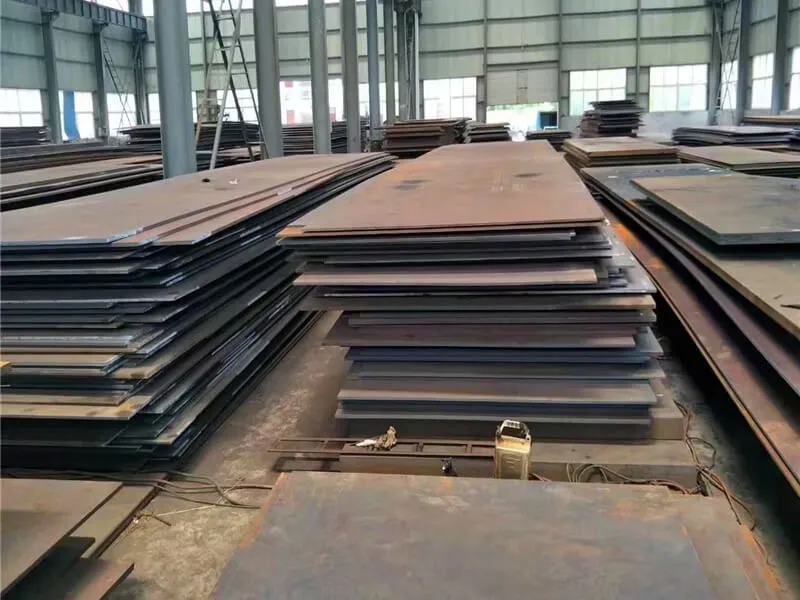
Let me explain the physics.
Why Thickest Goes at Bottom
The bending strength of a steel plate is proportional to the cube of its thickness. A 20mm plate is 8 times stiffer than a 10mm plate.
Example:
- A 20mm plate can support a stack of plates weighing 10 tons without noticeable deflection.
- A 10mm plate would bend under 5 tons.
So the bottom plates must be the stiffest. That means thickest.
Loading Order Table
| Layer (from bottom) | Plate thickness range | Maximum recommended stack weight above |
|---|---|---|
| 1 (bottom) | 25mm+ | Unlimited (within container limit) |
| 2 | 20‑25mm | 30 tons |
| 3 | 15‑20mm | 20 tons |
| 4 | 10‑15mm | 10 tons |
| 5 (top) | Under 10mm | 5 tons |
Do not stack more than 5 layers of thin plates. The risk of bending increases with height.
Weight Distribution in Containers
A 20ft container has a maximum payload of about 28 tons. A 40ft container about 28‑30 tons (depending on tare weight). The load should be centered over the axles.
For a 20ft container:
- Place the stack so that its center is 1‑2 meters from the front wall (closer to the axles of the truck).
- Do not put all weight at the very back or very front.
For a flat rack: Distribute weight evenly across the platform. The crane operator should place the stack centrally.
What Happens When You Ignore This
I once saw a shipment where the supplier stacked 8mm plates at the bottom and 25mm plates on top. The 8mm plates bowed permanently. The customer had to cut out the bowed sections and throw them away. 30% of the order was scrap. The supplier paid for replacement.
A Real Example
A shipyard in Vietnam ordered 200 tons of mixed thicknesses: 50 tons of 8mm, 100 tons of 12mm, and 50 tons of 20mm. The supplier stacked all plates in one pile with 8mm at the bottom. The 8mm plates arrived bent like bananas. The yard rejected them. The supplier had to air freight replacement 8mm plates at a cost of $15,000. Now they always follow thickest‑bottom loading order.
What Receiving and Inspection Checks Should Be Done Immediately After Unloading to Document Transit Damage?
The truck arrives. Your team unloads. You see some scratches. But you are in a hurry. You sign the delivery receipt. Later, you find deep gouges. The carrier says "you accepted it, no claim."
Immediately after unloading, inspect every plate for visible damage: edge dents, surface scratches deeper than 0.5mm, bending (bow), and rust beyond normal mill scale. Take photos with a ruler next to the damage. Write a detailed note on the delivery receipt before signing. If you find major damage, do not accept the shipment. Document everything within 24 hours and notify your supplier and the carrier. This gives you leverage for a claim.
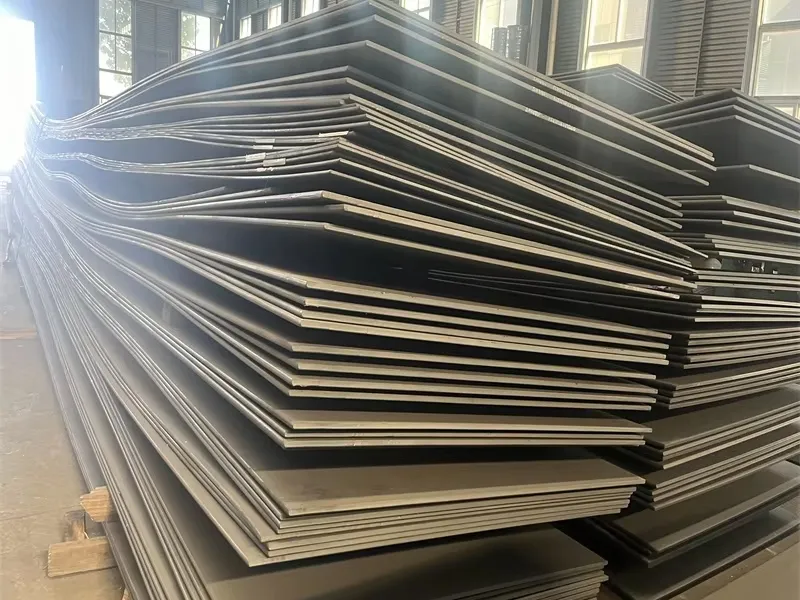
Let me give you a step‑by‑step receiving procedure.
Step 1: Visual Inspection Before Unloading
Before the truck leaves, walk around the container or flat rack. Look for:
- Broken straps (plates may have shifted)
- Holes or bulges in the container wall (plates may have punctured it)
- Rust stains on the outside (water ingress)
If you see any of these, take photos and note them on the delivery receipt.
Step 2: Unload and Inspect
As plates are removed from the container, inspect each one:
- Edges: Are there any deep nicks, cuts, or cracks?
- Surface: Look for deep scratches (more than 0.5mm), gouges, or areas where the mill scale is completely removed and bare metal shows.
- Flatness: Place a straightedge along the plate. Is there a visible bow? For plates under 15mm, any bow over 5mm per meter is a problem.
- Rust: Some rust on the edges is normal (mill scale does not cover edges). But red rust (active corrosion) on the surface is not.
Step 3: Document Everything
For each damaged plate, take:
- A wide photo of the entire plate (to show location)
- A close‑up photo with a ruler next to the damage
- A video if the damage is extensive
Write a damage report with:
- Plate ID (heat number and stamp)
- Description of damage (e.g., "3mm deep cut on edge, 500mm from corner")
- Measurement (photo as proof)
Step 4: Sign the Delivery Receipt Correctly
Do not sign a clean receipt. Write on it:
"Received with noted damage – see attached photos. Subject to final inspection."
Or, if the damage is major:
"Shipment not accepted due to extensive transit damage. See damage report."
Step 5: Notify Supplier and Carrier Within 24 Hours
Send the damage report and photos to your supplier and the carrier’s local agent. Most contracts have a 24‑hour notification clause. Miss this window, and you lose your right to claim.
A Real Example
A buyer in the Philippines received a shipment of 15mm plates. The delivery receipt was signed as "clean." Two days later, when they unstacked the plates, they found deep scratches on the bottom plates. The carrier refused to accept the claim because the receipt was signed clean. The buyer had to absorb the cost of grinding and welding the scratches – $3,000. Now they inspect before signing.
Conclusion
Stack plates properly with thickest at bottom, use dunnage and edge protectors, secure with correct strap tension, and inspect immediately upon receipt. These steps prevent transit damage and protect your claims.