
Your steel plates arrive at the port after weeks at sea. They are finally on land. Then a crane operator drops a bundle. Or the yard stores them on uneven ground. Your expensive plates are damaged before they reach your workshop.
To manage port handling risks for marine steel plate imports, prevent lifting damage by using spreader beams and edge protectors, avoid storage risks by keeping plates on level ground with dunnage, coordinate vessel scheduling with port crane capacity to avoid demurrage, and always inspect and document damage immediately after discharge.
I am Zora Guo from cnmarinesteel.com. I have shipped thousands of tons of marine steel plates to ports across Asia, the Middle East, and Europe. I have seen plates ruined by careless crane operators, stored improperly, or held up by port delays. Most of this damage is preventable. Let me walk you through the risks and how to manage them.
How to Prevent Lifting Damage (Bent Plates, Crushed Edges) During Crane and Spreader Beam Operations?
A crane lifts your steel bundle. The slings are too narrow. The bundle bends in the middle like a banana. Or the chains crush the edges of the top plates.
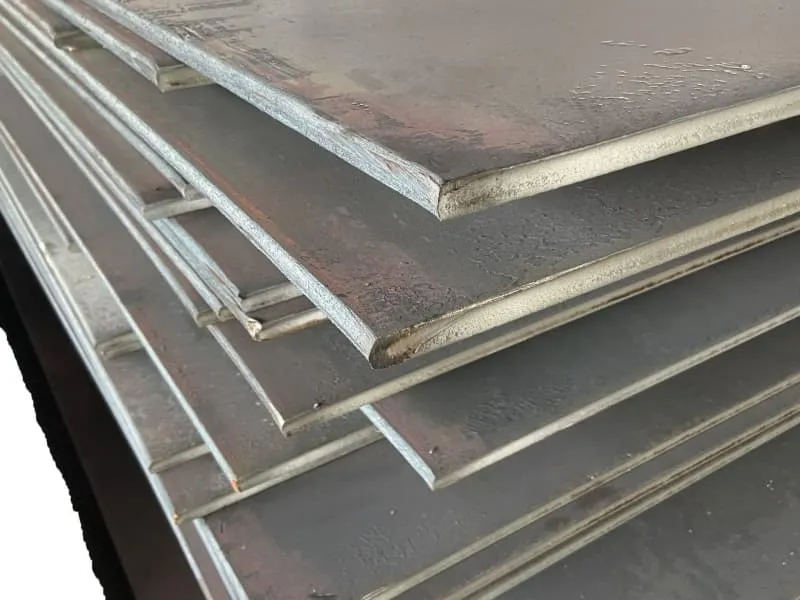
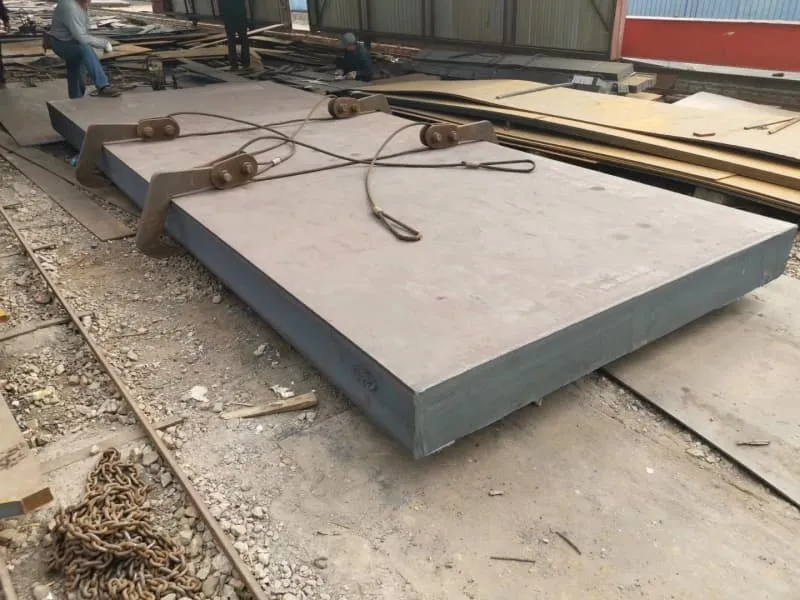
To prevent lifting damage, always use a spreader beam or lifting frame that matches the length of the steel bundle. The spreader beam distributes the lifting force evenly across multiple lifting points, preventing bending. Never lift a long bundle from a single point in the center – that will cause the bundle to sag and the plates to take a permanent bow. Use nylon slings or padded chains to avoid crushing the plate edges. For heavy bundles over 10 tons, use four lifting points instead of two. Train crane operators to lift vertically and set down gently. A sudden drop of a 15‑ton bundle can dent the bottom plates beyond repair.

Let me explain the most common lifting mistakes and how to avoid them.
Mistake 1: Single‑Point Lift
When a crane hooks to the center of a long bundle, the bundle sags downward at the ends. The plates bend permanently. A bowed plate is hard to cut and weld.
Correct method: Use a spreader beam (also called a lifting beam or lifting frame). The spreader beam is a long steel beam with multiple lifting points. The crane hooks to the center of the spreader beam. The spreader beam distributes the load to two, three, or four slings attached to the steel bundle.
For short bundles (under 4m): A two‑point lift may be acceptable if the slings are placed at 1/4 and 3/4 of the length.
For long bundles (over 4m): Use three or four lifting points. The outer points should be near the ends, not right at the very edge.
Mistake 2: Crushed Edges from Chains or Unpadded Slings
Steel chains and wire rope slings are hard. They bite into the plate edges, leaving deep dents. These dents become stress concentration points and can cause cracks later.
Correct method: Use nylon slings (flat webbing) or padded wire rope slings. Nylon is soft and will not damage the plate edges. If you must use chains, wrap the chain with rubber hose or place edge protectors between the chain and the plate.
Mistake 3: Dropping the Bundle
A crane operator lowers the bundle too fast. The last few inches become a drop. The bottom plates hit the ground or the stack below with a bang. The impact can dent or warp the plates.
Correct method: The operator should lower the bundle slowly. For the last 30cm, reduce speed to a crawl. The bundle should settle gently onto the dunnage below.
Lifting Checklist for Port Operators
| Item | Check |
|---|---|
| Spreader beam | Is it long enough (at least 2/3 of bundle length)? |
| Number of lifting points | Two for short bundles, three or four for long bundles |
| Sling type | Nylon webbing or padded wire rope. No bare chains. |
| Edge protectors | Placed wherever slings touch plate edges |
| Lifting speed | Slow and steady. No sudden jerks. |
| Lowering speed | Gentle touchdown. No dropping. |
A Real Example
A customer in Saudi Arabia received a shipment of 12m long plates. The port crane operator lifted each bundle from a single hook in the center. Every plate arrived with a permanent bow – the middle was higher than the ends by 50mm. The customer rejected the entire shipment. The supplier had to replace 200 tons at a cost of $160,000. The cause was improper lifting. Now they require the port to sign a lifting procedure agreement before discharge.
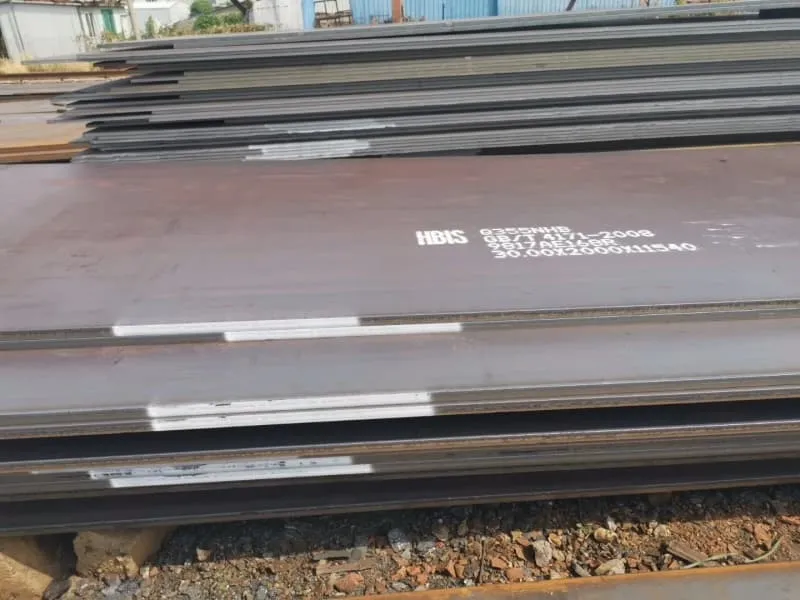
What Storage Risks (Uneven Ground, Stacking Pressure, Corrosion) Threaten Steel Quality at Port Yards?
The plates are unloaded and placed in the port yard. They may sit there for days or weeks. During that time, they can rust, bend, or get damaged by other cargo.
At port yards, uneven ground causes plates to bend under their own weight. Stacking too many plates in one pile crushes the bottom layers. Wet ground or rain causes rust. Adjacent cargo (like chemicals or fertilizers) can spill and corrode the steel. To reduce storage risks, insist that the port stores plates on level, paved ground with dunnage under the bottom layer. Limit stack height to five layers. Cover stacks with tarps if rain is expected. And ask for a dedicated storage area away from other cargo.
Let me detail the three main storage risks.
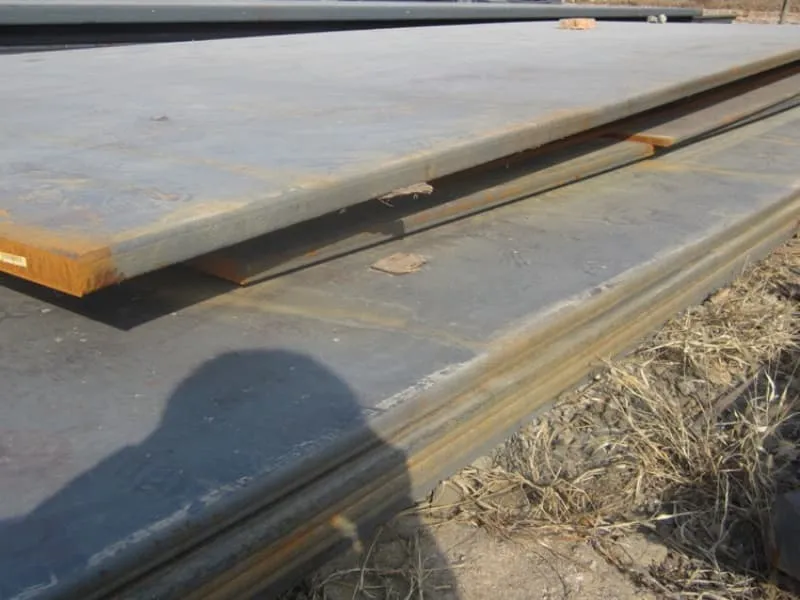
Risk 1: Uneven Ground – The Silent Bender
Port yards are not always perfectly flat. Some have old railway tracks, drainage channels, or simply packed earth. When you place a long steel plate on uneven ground, the high points push up. The plate bends.
What happens: A 12m plate placed on ground that dips by 20mm in the middle will have a permanent bow after a few days of sitting. The plate is ruined for use as a flat stiffener.
Prevention:
- Insist that plates are stored on a level, paved surface (concrete or asphalt).
- Use dunnage (wooden timbers) under the bottom layer to create a level support plane.
- The dunnage should be placed on a firm base, not on soft ground.
- If the port yard is uneven, request that plates be stored on steel cradles or heavy timber cribbing.
Risk 2: Stacking Pressure – Crushing the Bottom
A stack of steel plates is heavy. A 20‑ton stack of 10mm plates (about 20 plates) applies a pressure of roughly 1,000 kg per square meter on the bottom plates. This pressure can cause the bottom plates to yield (bend) if the stack is too high.
Prevention:
- Limit stack height to 5 layers (or fewer for thin plates).
- Place dunnage between each layer, aligned vertically. The dunnage spreads the load.
- For long‑term storage (over 1 month), reduce stack height to 3 layers.
- Heavy plates (over 25mm) can support taller stacks. Thin plates (under 10mm) cannot.
Rule of thumb:
| Plate thickness | Maximum stack height |
|---|---|
| 25mm+ | 8 layers |
| 15‑25mm | 6 layers |
| 10‑15mm | 5 layers |
| Under 10mm | 3 layers |
Risk 3: Corrosion – The Slow Destroyer
Ports are near the sea. The air is salty. Rain is common. Steel plates left uncovered will rust. Surface rust can be ground off, but deep pitting cannot.
Prevention:
- Request that the port covers steel stacks with tarps or plastic sheeting.
- Ensure that the port stores plates on dunnage, not directly on wet ground.
- If plates will be stored for more than 2 weeks, ask for a corrosion inhibitor spray (or have your supplier apply it before shipping).
- During rainy seasons, check on the plates weekly. If rust appears, request that the port re‑cover them properly.
A Real Example
A buyer in Indonesia had 300 tons of plates stored at a port for 6 weeks due to customs delays. The port stored the plates directly on wet ground without any cover. By the time the buyer received them, the bottom layers were heavily rusted with pits 1‑2mm deep. The buyer had to grind every plate – 200 hours of labor at $5,000. The plates were usable but the surface finish was poor. Now the buyer requires the supplier to include a clause in the delivery contract: "Port storage must be on level ground with dunnage and tarp cover."
How to Coordinate Vessel Scheduling, Berth Allocation, and Port Crane Capacity to Avoid Demurrage and Handling Delays?
Your vessel arrives. There is no berth. It waits at anchor. Each day of waiting costs you thousands in demurrage. Then when you finally get a berth, the crane cannot lift your heavy bundles.
To avoid demurrage and handling delays, coordinate with your shipping agent and the port well before the vessel’s arrival. Confirm berth allocation at least 1‑2 weeks ahead. Provide the port with the cargo plan: number of bundles, weight per bundle, dimensions, and any special lifting requirements. Check that the port’s cranes have sufficient safe working load (SWL) for your heaviest bundle. If your cargo is heavy (over 30 tons per bundle), you may need a mobile crane or a different berth with a heavier gantry crane. Also plan for weekend and holiday operations – many ports charge extra for overtime handling, but refusing to work weekends adds days of delay.
Let me break down the coordination steps.
Step 1: Berth Allocation and Vessel Scheduling
- Notify the port at least 2 weeks before arrival. Provide vessel name, ETA, cargo volume, and any special handling needs.
- Confirm berth availability. Some ports have dedicated berths for steel cargo. Ask for one.
- Book a discharge window. For example, "vessel to discharge on May 15‑16, two shifts per day."
- Consider port congestion. Major ports like Singapore, Shanghai, and Rotterdam have high traffic. Your vessel may wait 3‑5 days for a berth. Build this into your schedule.
- Demurrage costs: A typical bulk carrier costs $10,000‑20,000 per day in demurrage. A container vessel can be $30,000‑50,000 per day. Avoiding just 2 days of waiting saves you a lot of money.
Step 2: Crane Capacity and Lifting Plan
- Check the port’s crane SWL (safe working load). A standard gantry crane at a container terminal has SWL of 40‑50 tons. A bulk terminal may have grab cranes with lower SWL. A mobile harbor crane can have SWL of 100+ tons but is more expensive.
- Tell the port the weight of your heaviest bundle. If your bundle weighs 45 tons, you need a crane with SWL of at least 55 tons (10‑20% margin).
- If the port’s cranes are too small, you have two options: split the heavy bundles into smaller ones (if possible) or hire a mobile crane (higher cost).
- Provide a lifting diagram showing where the slings should be attached. Some cranes use spreader beams. The port needs to know if they must supply one.
Step 3: Manpower and Shifts
- How many stevedores will be working? A typical team is 4‑6 people per crane.
- How many cranes can work simultaneously? Some ports have only one crane at a berth. Others have two or three.
- Are weekends and holidays covered? If your vessel arrives on a Friday afternoon, you may not get a berth until Monday. Some ports offer 24/7 operations for a premium. Calculate whether the premium is less than the demurrage cost.
Step 4: Documentation for Customs
Delays often happen because customs documents are missing or incorrect. Before the vessel arrives, ensure that your customs broker has:
- Bill of lading
- Commercial invoice
- Packing list (with bundle weights and dimensions)
- Mill certificates
- Certificate of origin
- Any import permits or licenses
A customs hold can add 3‑10 days of delay.
Coordination Checklist
| Item | Action | Timing |
|---|---|---|
| Berth booking | Request berth from port agent | 2 weeks before ETA |
| Crane capacity check | Confirm SWL of available cranes | 2 weeks before ETA |
| Lifting plan | Send diagram and bundle weights | 1 week before ETA |
| Manpower confirmation | Agree on shifts and number of stevedores | 1 week before ETA |
| Customs documents | Submit to broker for pre‑clearance | 1 week before ETA |
| Demurrage agreement | Understand terms and caps | At time of shipping contract |
A Real Example
A buyer in Vietnam imported 500 tons of plates. The vessel arrived on a Saturday. The port had no weekend discharge team. The vessel waited until Monday. Demurrage was $8,000 per day – total $16,000. If the buyer had booked a weekend shift for an extra $3,000, they would have saved $13,000. Now they always ask: "Do you offer weekend discharge? What is the premium?"
What Inspection and Claim Procedures Should Be Followed Immediately After Discharge to Document Port‑Caused Damage?
The plates are on the dock. You see some bent corners or deep scratches. But you are in a hurry to get them to your yard. You sign the delivery receipt. Later, you cannot prove the damage happened at the port.
Immediately after discharge, inspect every plate or bundle while it is still in the port area. Take photos of all four sides, the edges, and any visible damage with a ruler next to the defect. Write a detailed note on the delivery receipt or the mate’s receipt before signing. If you find major damage, do not accept the cargo. Request a port surveyor to attend. File a claim with the port or the carrier within 24 hours. Most contracts have a 24‑hour notification clause for visible damage. Miss this window, and you lose your right to claim.
Let me give you a step‑by‑step procedure.
Step 1: Prepare Before Discharge
- Have a camera or smartphone ready.
- Print a checklist of what to inspect (edge condition, flatness, surface scratches, rust).
- Prepare a damage report form (can be a simple template on a tablet).
Step 2: Inspect During or Immediately After Discharge
As each bundle comes off the vessel, inspect:
- Edge condition: Are there deep dents, crushed corners, or cracks? Use a ruler to measure depth.
- Surface scratches: Are any scratches deeper than 0.5mm? Deep scratches may need grinding.
- Flatness: Place a straightedge along the plate. Is there a visible bow? For plates under 15mm, any bow over 5mm per meter is a problem.
- Rust: Is there red rust (active corrosion) on the surface? Some mill scale rust is normal. Red rust is not.
Step 3: Document Everything
For each damaged plate or bundle:
- Take a wide photo showing the entire plate and the location of the damage.
- Take a close‑up photo with a ruler next to the defect.
- Take a video if the damage is extensive (e.g., a bent corner).
- Write a description: "Plate #H12345 – 20mm edge dent, 5mm deep, 30cm from corner."
Step 4: Sign the Delivery Receipt Correctly
Do not sign a clean receipt. Write clearly on the receipt:
- "Received with noted damage – see attached damage report and photos. Subject to final inspection."
- Or, if damage is major: "Shipment not accepted due to port‑caused damage. See attached report."
If the driver or port agent refuses to accept a qualified receipt, take a photo of the receipt before you sign it and note the refusal. Then immediately call your supplier.
Step 5: Notify All Parties Within 24 Hours
Send the damage report and photos to:
- Your supplier (the seller)
- The shipping line or freight forwarder
- The port operator
- Your insurance provider
Most contracts require written notice within 24 hours of discharge for visible damage. Send an email with attachments. Follow up with a phone call.
Step 6: Request a Port Surveyor
If the damage is significant (e.g., bent plates that may be unusable), request that the port’s surveyor attend and issue a report. This report is important for any claim.
Claim Timelines
| Type of damage | Notification deadline | Claim filing deadline |
|---|---|---|
| Visible damage (dents, scratches, bending) | 24 hours from discharge | 7‑14 days |
| Hidden damage (found later, e.g., internal lamination) | As soon as discovered (usually within 30 days) | 30‑60 days |
A Real Example
A buyer in Malaysia received a shipment of plates. The port forklift had dropped one bundle. The buyer saw the damage but was in a hurry. He signed a clean receipt. Two days later, when the plates arrived at his yard, he found that 15 plates were bent. He filed a claim. The port and the carrier both refused because the receipt was signed clean. The buyer lost $12,000. Now he never signs a receipt without inspecting first.
Conclusion
Use spreader beams and padded slings to prevent lifting damage. Store plates on level ground with dunnage and covers. Coordinate vessel scheduling and crane capacity to avoid demurrage. Inspect immediately after discharge and document everything. These steps protect your steel and your budget.