You order 100 tons of 20mm plate for a ship’s hull. When it arrives, you find some sheets are 19mm, some are 21mm. Your entire fabrication schedule collapses. Thickness errors are not just numbers; they are critical project risks.
Thickness tolerance is the allowable deviation from a steel plate’s ordered thickness. Strict tolerance control is vital for marine plates to ensure structural integrity, welding quality, weight accuracy, and fabrication efficiency. Standards like ASTM, EN, and JIS define specific tolerances based on plate width, thickness, and rolling method.
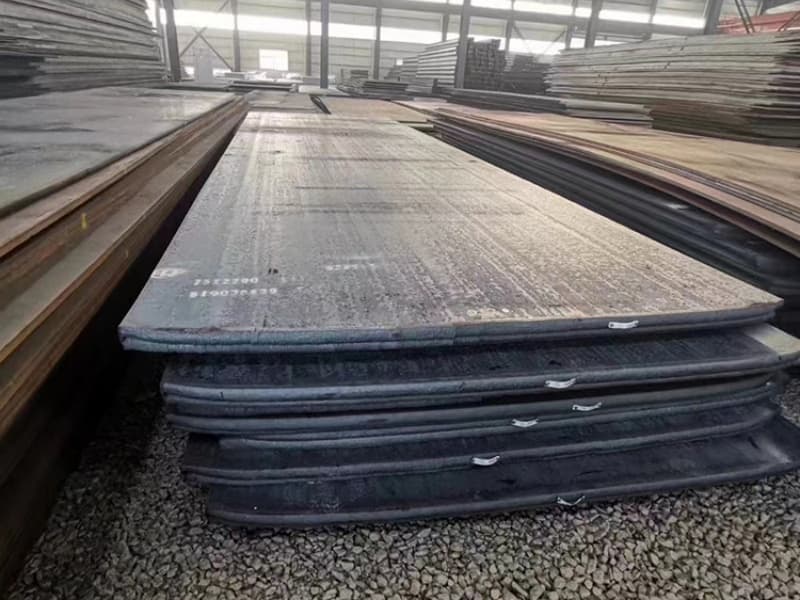
A few millimeters might seem trivial on a single plate. But across an entire vessel, these small errors add up to major problems: incorrect weight distribution, welding defects, and assembly failures. For buyers and builders, understanding tolerance is as important as knowing the steel grade. Let’s examine the standards that keep your project on track.
What is the standard thickness tolerance for plates?
There is no single "standard" tolerance. Different projects and regions follow different rulebooks. Using the wrong tolerance standard can mean your plates are rejected upon arrival, even if they are the correct grade.
Standard thickness tolerance1 refers to the officially allowed variation, usually defined by international or national standards organizations. Common standards include ASTM A6/A6M2 (USA), EN 100293 (Europe), JIS G31934 (Japan), and GB/T 7095 (China). Each standard sets limits based on plate dimensions and rolling process (e.g., milled or sheared edges).
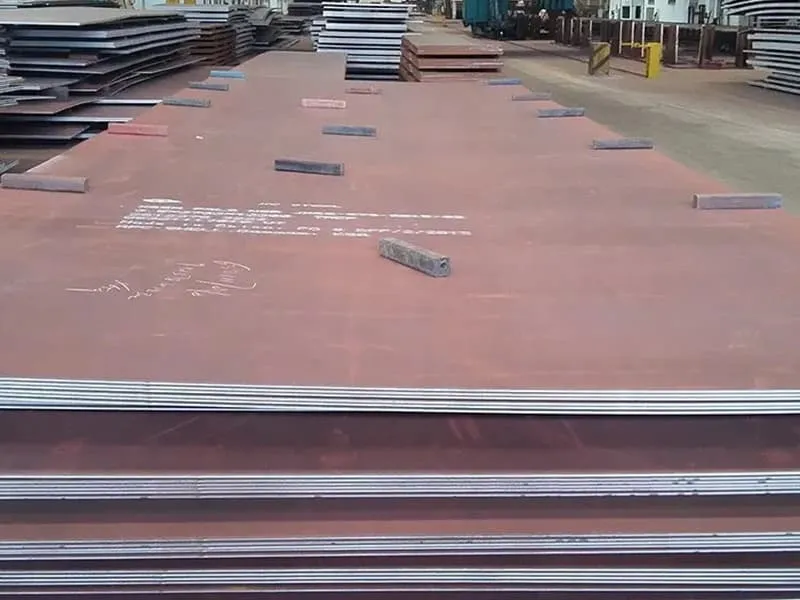
Navigating the Global Tolerance Landscape
For a global buyer, the variety of standards can be confusing. The key is to know which standard governs your project. Shipyards building for European owners often specify EN 100293. Projects in the Americas frequently use ASTM A6. Asian projects may reference JIS G31934. Many international projects simply state "tolerance per ASTM A6" in the purchase order. Let’s break down what these standards contain and how to apply them correctly.
Core Principles Across All Standards:
Despite different names, all major standards share common logic:
- Tolerance is Not a Fixed Number: It is a range that changes with two main factors: the nominal thickness of the plate and its width. Thicker plates and wider plates generally have larger allowable tolerances.
- The "Measurement Point" Matters: Tolerance is usually specified for measurements taken at a set distance from the plate’s edge (e.g., at least 40mm in from the edge in ASTM A6). This avoids the edge area, which can be slightly thinner due to the rolling process.
- Two Types of Tolerances:
- Dimensional Tolerance6 (Standard): This is the most common. It applies to the thickness anywhere on the plate’s body.
- Special Tolerances7 (Closer Tolerance): These are tighter limits available upon request and at a higher cost. Examples include "tolerance for machined plates" or "tolerance for floor plates."
A Comparative Analysis of Key Standards:
Here is a simplified table to illustrate how tolerances differ. Imagine we order a 2000mm wide, 20mm thick steel plate.
| Standard | Typical Tolerance for 20mm thick, 2000mm wide plate | Key Characteristics & Notes |
|---|---|---|
| ASTM A6/A6M2 (USA) | ±0.8mm | The most widely referenced international standard for structural plates. It has detailed tables for different thickness ranges and widths. It is often the default in project specifications. |
| EN 100293 (Europe) | Class A (Normal): ±0.8mm Class B (Closer): ±0.5mm |
Offers two classes. Class B (closer tolerance) is common for high-quality marine work. It also has specific rules for "thermomechanically rolled" plates. |
| JIS G31934 (Japan) | ±0.85mm | Similar structure to ASTM. Japanese shipyards and classifications (like ClassNK) often work with this standard. |
| GB/T 7095 (China) | N Class (Normal): ±0.85mm A Class (Advanced): ±0.7mm |
The Chinese national standard. Many mills in China are certified to GB/T. The "A Class" offers a tighter tolerance similar to EN 100293 Class B. |
Practical Implications for Marine Projects:
The choice of standard has real-world consequences:
- Weight Calculation and Stability8: A ship’s design weight and center of gravity are calculated using the nominal plate thickness. If a batch of plates is consistently at the maximum positive tolerance (e.g., 20mm +0.8mm = 20.8mm), the vessel will be heavier than designed. This affects cargo capacity, fuel efficiency, and stability. Naval architects account for a "scantling margin," but uncontrolled positive tolerance eats into this safety buffer.
- Welding and Fit-up9: In automated panel lines, plates are cut and welded by machines programmed for the nominal thickness. A plate that is thinner than the lower tolerance limit (e.g., 19.2mm instead of 20mm) can cause poor fit-up in butt joints. The welding machine’s parameters (heat input, wire feed speed) are set for 20mm. Welding a 19.2mm plate with 20mm settings can lead to burn-through or a weak weld. Conversely, a thicker plate may not fit properly into the assembly jig.
- Cost and Sourcing10: Specifying a tighter tolerance (like EN 100293 Class B or GB/T 7095 A Class) means the mill must exercise greater process control. This often results in a higher price and potentially longer production time. However, for critical hull sections or areas with complex welding, this cost is justified. It prevents far more expensive rework at the shipyard.
Therefore, the "standard" tolerance is not just a technical detail on a certificate. It is a contractual and engineering requirement that must be clearly agreed upon between buyer and supplier before production begins. A professional supplier will always confirm the applicable tolerance standard with you.
What is thickness tolerance?
In simple terms, it’s the "wiggle room" allowed in a plate’s thickness. No rolling mill can produce every plate at an exact, perfect thickness. The tolerance defines how much variation is acceptable before the plate is considered out of spec.
Thickness tolerance is the permitted difference between the actual measured thickness of a steel plate and its ordered (nominal) thickness. It is expressed as a "±" value (e.g., ±0.5mm) or sometimes as a minimum and maximum limit. This ensures plates are fit for their intended structural purpose.
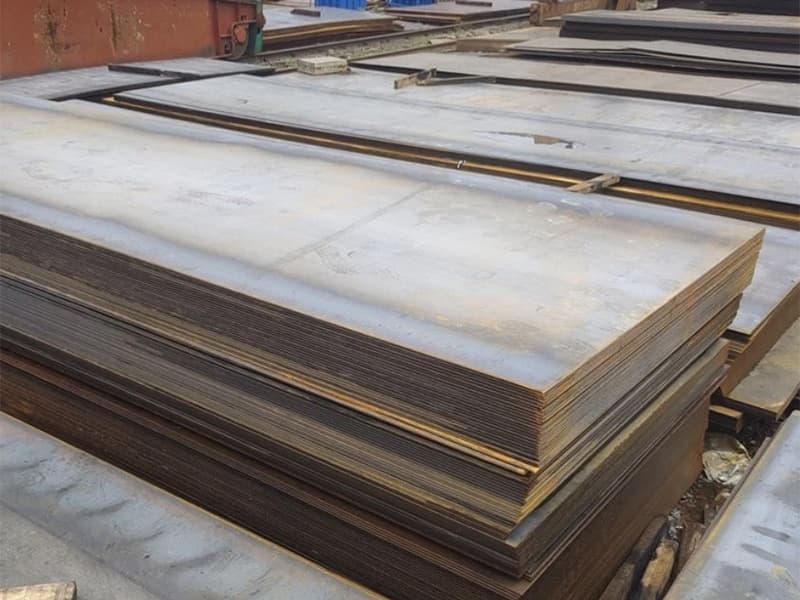
Deconstructing Tolerance: More Than Just a Manufacturing Byproduct
Many people think of tolerance as an unavoidable error, a simple result of the mill’s process limitations. This view is incomplete. In reality, specified thickness tolerance is a fundamental engineering parameter. It is a deliberate part of the design and procurement process. Understanding its components reveals why it’s so critical.
The Three Components of a Tolerance Specification:
A complete tolerance requirement has three parts:
- The Nominal Value: This is the target. "We need 20mm thick AH36 plate."
- The Tolerance Limit: This is the allowable deviation. "…with a thickness tolerance of ±0.7mm according to EN 10029 Class B."
- The Measurement Standard: This defines how and where to measure. "…measured at any point not less than 40mm from the edge."
Why Tolerance Exists – The Mill’s Perspective:
From the production side, several factors create natural thickness variation:
- Roll Wear and Temperature: The massive rolls in a plate mill wear down and heat up during a rolling campaign. This can cause slight changes in the gap between the rolls.
- Material Properties: The steel’s resistance to deformation (flow stress) can vary slightly across a slab due to segregation.
- Process Control: Even with advanced computer systems, maintaining absolute consistency across a plate that may be 15 meters long and 3 meters wide is a challenge.
The tolerance standard acknowledges these realities and sets a practical, achievable quality limit.
Why Tolerance Matters – The Buyer’s and Fabricator’s Perspective:
For the end-user, tolerance is a guarantee and a planning tool.
- It Defines "Acceptable Quality": A plate within tolerance is contractually acceptable. A plate outside tolerance is typically subject to rejection, replacement, or a price discount. This is a key point for inspection (like SGS). Our client, Gulf Metal Solutions, specifically values third-party inspection to verify that the plates they receive are within the agreed tolerances, ensuring they can proceed with fabrication without delay.
- It Enables Efficient Design: Engineers use the nominal thickness for all strength and weight calculations. The tolerance range is their buffer. They know that the real plate will be within a predictable band, so the structure will perform as designed.
- It Drives Fabrication Methods: Tolerance informs the choice of welding procedures and assembly techniques. For example, if you know your plates will be within a tight ±0.5mm band, you can use more efficient, high-precision automated welding. If the tolerance is loose, you may need to plan for more manual adjustment and fit-up work, increasing labor time and cost.
The Concept of "As Rolled" vs. "Milled" Tolerances:
This is a crucial distinction for some applications:
- As-Rolled Tolerance: This is the standard tolerance for plates as they come off the mill. The surface has the natural mill scale.
- Milled/Universally Milled (UM) Tolerance: For applications requiring an exceptionally smooth surface or precise thickness (e.g., for machining or as a base plate for precision equipment), plates can be "skin passed" or milled on both faces after rolling. This process removes a thin layer, resulting in a much tighter thickness tolerance (e.g., ±0.2mm) and a superior surface finish. This, of course, adds significant cost.
In essence, thickness tolerance is the agreed-upon language of precision between the mill, the supplier, and the end-user. It is not an apology for imperfection; it is a specification for controlled variation.
What is the thickness tolerance of ASTM A1011?
ASTM A1011 is a standard for steel sheet and strip, not plate. This is a common point of confusion. For steel plate, which is thicker than sheet, the relevant standard is typically ASTM A6/A6M. It’s crucial to reference the correct standard for your product form.
ASTM A1011 covers hot-rolled carbon steel sheet and strip in various grades. Its thickness tolerance is defined within the standard itself, typically for material under 12.7mm (0.5 inches) in thickness. For marine structural plates (usually over 4.5mm/0.18 in), ASTM A6/A6M is the governing standard for dimensional tolerances.
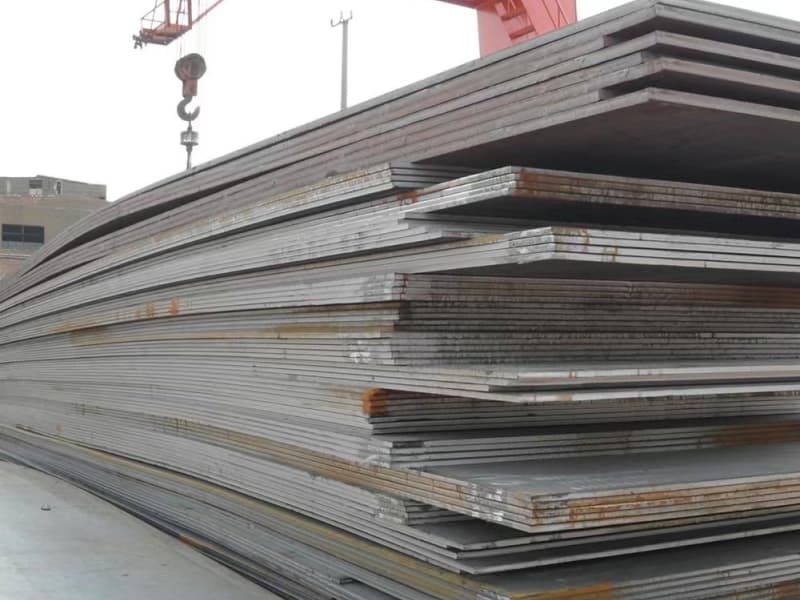
Clarifying Product Forms: Why ASTM A6 is Your Go-To for Plates
Mixing up sheet and plate standards can lead to serious specification errors. Let’s clearly differentiate these product forms and explain why ASTM A6, not A1011, is the document you need for marine plate procurement.
Understanding the Product Form Distinction:
The primary difference lies in thickness and how the product is produced/sold.
- Sheet/Strip (ASTM A1011 domain):
- Thickness: Generally less than 4.75 mm (0.187 inches) for hot-rolled, though the exact cutoff can vary. It is supplied in coils or cut lengths from coils.
- Width: Can be very wide, but it is characterized by being supplied from coiled stock.
- Application: Automotive frames, appliance panels, lighter-gauge industrial uses. In marine contexts, it might be used for non-structural interior panels, ducting, or light casing—never for primary hull structure.
- Plate (ASTM A6 domain):
- Thickness: Generally 4.75 mm (0.187 inches) and above. It is supplied as individual, flat pieces ("discrete plates").
- Application: This is the domain of marine steel. Hull plating, decks, bulkheads, offshore platform legs—all these are made from steel plate governed by standards like ASTM A6.
A Deep Dive into ASTM A6/A6M Tolerances for Plate:
ASTM A6 is titled "Standard Specification for General Requirements for Rolled Structural Steel Bars, Plates, Shapes, and Sheet Piling." Its tables are the bible for plate tolerances in many international projects.
How to Use ASTM A6 Tolerance Tables:
The standard provides multiple tables. For thickness, you primarily need Table 20: Tolerances for Thickness of Rectangular Plates.
- Find Your Thickness Range: The table is divided into rows for different "Specified Thickness" ranges (e.g., "Over 12.7 to 25.4 mm").
- Find Your Width Range: Columns are divided by "Specified Width" ranges (e.g., "1200 to 1500 mm", "Over 1500 to 1800 mm", etc.).
- Read the Tolerance: The intersecting cell gives you the tolerance, usually as a ± value in millimeters.
Example: You order an ASTM A572 Grade 50 plate, 20mm thick, 2500mm wide.
- Step 1: Thickness = 20mm. This falls in the row "Over 12.7 to 25.4 mm".
- Step 2: Width = 2500mm. This falls in the column "Over 2100 to 2400 mm" (note: you use the closest width range; for 2500mm, you’d use the "Over 2400 to 3000 mm" column).
- Step 3: The tolerance in that cell is typically ±0.8mm.
Important Notes on ASTM A6:
- "Unless Otherwise Specified": The tolerances in Table 20 are the default. A purchase order can specify tighter tolerances, but this must be agreed upon.
- Tolerance for Sheared Plates: For plates with sheared edges, the tolerance in the sheared edge zone (a defined width from the edge) may be greater. This is why measurements are taken away from the edge.
- Impact on Weight: ASTM A6 also has rules for calculating the theoretical weight of a plate, using the nominal thickness. The allowed weight variation is linked to the thickness tolerance.
Why This Confusion Matters for Buyers:
A supplier might claim their plate meets "ASTM standards," but if they are referencing A1011 for a 25mm plate, it is a red flag. It shows a lack of technical knowledge about the product form. For marine plates, you must insist that the mill test certificate references ASTM A6/A6M for dimensional tolerances (and the appropriate material spec like A36, A572, etc., for chemical/mechanical properties). This precision in specification prevents disputes and ensures you receive the right product for heavy-duty marine construction.
Is 2062 plate thickness tolerance1?
IS 20622 is a key Indian standard for steel. Yes, it defines thickness tolerance1, but it references another standard for the specific numbers. IS 20622 is primarily a material specification for hot-rolled medium and high tensile structural steel. For dimensional tolerances of plates, it typically points to IS 85003.
IS 20622 itself specifies the chemical and mechanical requirements for steel. The thickness tolerance for IS 2062 plates is governed by the dimensional standard IS 8500 (or sometimes older references to IS 1852). Buyers must ensure both the material standard (IS 20622) and the tolerance standard (IS 8500) are specified.
Decoding Indian Standards: IS 20622 and Its Companion, IS 85003
The Indian market is significant, and many projects in the Middle East and Asia specify IS standards. Understanding the relationship between IS 20622 (the "what") and IS 85003 (the "how big") is essential for accurate procurement and quality control when dealing with suppliers or projects referencing Indian norms.
The Role of IS 20622: The Material Spec
IS 20622 is titled "Hot Rolled Medium and High Tensile Structural Steel." Its latest revisions (like IS 20622:2011) cover grades like E250, E350, etc. It dictates:
- Grade Designation: Such as Fe 410, Fe 490, where the number indicates the minimum yield strength in MPa.
- Chemical Composition: Limits for Carbon, Manganese, Sulphur, Phosphorus, etc.
- Mechanical Properties: Minimum yield strength, tensile strength, elongation, and sometimes impact energy.
Crucially, IS 20622 does not contain tables for thickness tolerance1. A clause in the standard will state that dimensions and tolerances should conform to IS 85003. This is a common structure in standardization: one document for material, another for dimensions.
The Role of IS 85003: The Dimensional Spec
IS 85003 is titled "Hot Rolled Steel Plates for Structural Purposes — Dimensions and Tolerances on Dimensions and Shape." This is your go-to document for all physical measurements.
Key Tolerance Provisions in IS 85003:
Similar to ASTM A6 and EN 10029, IS 85003 provides tolerance tables based on thickness and width.
- Table 1 – Thickness Tolerances: This is the main table. It lists tolerances for "Normal" and "Closer" tolerance classes.
- Example: For a plate with width ≤ 1500mm and thickness >10mm to ≤25mm, the "Normal" tolerance is ±0.8mm, and the "Closer" tolerance is ±0.5mm.
- Other Tolerances: IS 85003 also covers width, length, flatness, and edge camber tolerances.
Practical Procurement Scenario:
Your purchase order for an Indian project should read something like:
- "Material: IS 20622 Grade E350 BR (where BR indicates Boiling Range for impact test)"
- "Dimensions: 20mm thick x 2000mm wide x 8000mm long"
- "Dimensional Tolerances: As per IS 85003, Normal Class (or Closer Class if required)."
Why Understanding This Distinction is Critical:
- Avoids Ambiguity: Simply stating "IS 20622 plates" is incomplete. It defines the steel quality but not the acceptable physical size. A supplier could deliver plates that meet IS 20622 chemically but are wildly out of dimensional spec if IS 85003 is not invoked.
- Ensures Inspection Clarity: When a third-party inspector like SGS arrives, they need the complete set of standards to check against. They will test chemistry/mechanics per IS 20622 and measure dimensions per IS 85003. Providing both standards upfront streamlines the inspection and avoids disputes.
- Facilitates Global Sourcing: Many Chinese mills are accredited to produce IS 20622 material. As a supplier based in China, we are often asked for IS 20622 plates for projects in Qatar, Saudi Arabia, or Myanmar. Our process always involves confirming with the mill that they will roll and measure the plates according to IS 85003 tolerances, and we state this clearly in our proforma invoice and quality assurance plan. This level of detail is what builds trust with rational, results-driven buyers.
In summary, IS 20622 tells you the plate is made of the right stuff. IS 85003 tells you it is cut to the right size. For a successful project, you need both specifications working together.
Conclusion
Thickness tolerance is a non-negotiable specification for marine steel plates. It directly impacts structural safety, welding quality, vessel weight, and project cost. Clearly defining the correct standard (ASTM A6, EN 10029, IS 8500) with your supplier is the first step to ensuring a smooth build.
-
Discover the specific thickness tolerances that ensure quality in steel plate manufacturing. ↩ ↩ ↩ ↩
-
Explore this link to understand the specifications and importance of IS 2062 in steel quality. ↩ ↩ ↩ ↩ ↩ ↩ ↩ ↩ ↩ ↩ ↩ ↩ ↩ ↩ ↩ ↩ ↩ ↩ ↩
-
Learn about IS 8500’s role in dimensional tolerances for steel plates, crucial for procurement. ↩ ↩ ↩ ↩ ↩ ↩ ↩ ↩ ↩ ↩ ↩ ↩ ↩ ↩ ↩ ↩ ↩ ↩ ↩
-
Discover JIS G3193 to ensure compliance with Japanese standards in shipbuilding and manufacturing. ↩ ↩ ↩
-
Understanding GB/T 709 is vital for sourcing materials from China and ensuring quality control. ↩ ↩ ↩
-
Explore dimensional tolerance to grasp its significance in ensuring the quality and fit of steel plates. ↩
-
Learn about special tolerances to understand how they can impact project costs and quality. ↩
-
Understanding the impact of thickness tolerance on weight and stability is crucial for effective ship design. ↩
-
Explore the relationship between thickness tolerance and welding to avoid costly errors in construction. ↩
-
Learn how thickness tolerances can impact sourcing decisions and overall project costs. ↩
