
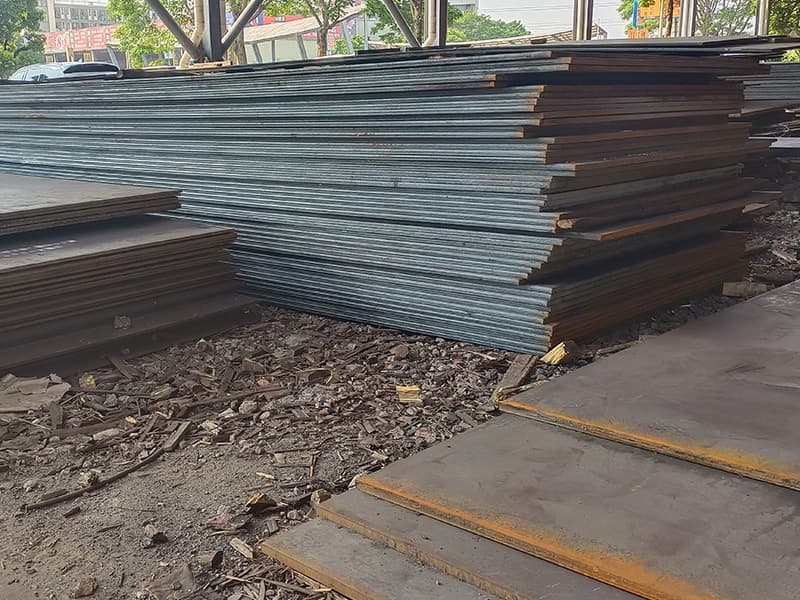
You order plates in different thicknesses. They arrive in one heap. Your yard cannot tell 10mm from 15mm. Chaos follows.
To manage multiple thickness marine steel plates in one shipment, group plates by thickness and grade in separate bundles, use clear labeling and color coding, plan loading with thickest plates at the bottom, and follow strict receiving procedures. This prevents mix‑ups and damage.
Below is my article in Markdown format, please help me fill in the missing links in it (if necessary, please search Google for the most appropriate linking resources).
I am Zora Guo from cnmarinesteel.com. I have seen shipyards struggle when plates of different thicknesses arrive mixed. Workers spend hours sorting. Sometimes they cut the wrong plate. Let me show you a simple system to keep everything organized.
How to Group Plates by Thickness and Grade in Separate Bundles for Clear Identification?
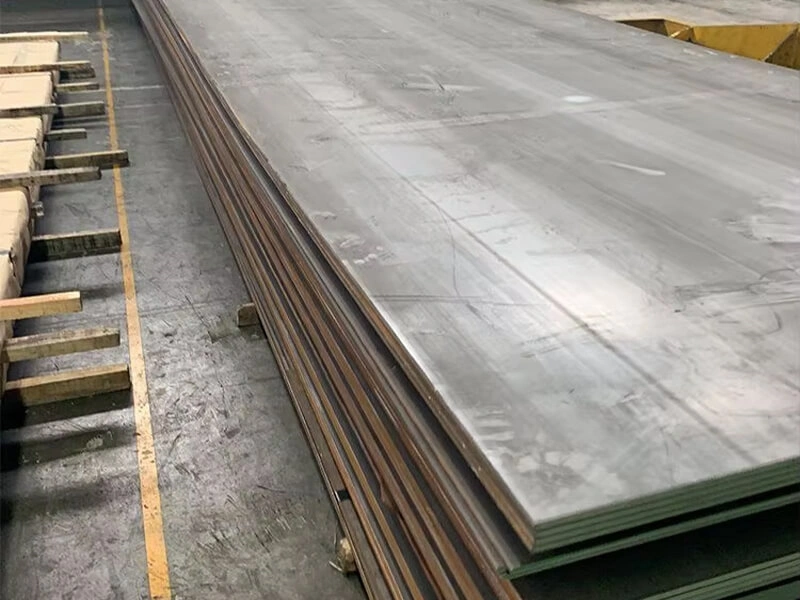
You order 10mm, 12mm, and 15mm plates. The supplier stacks them all together. You cannot tell which is which without measuring each plate.
Group plates by thickness and grade in separate bundles. Each bundle contains only one thickness and one grade. Use steel straps to secure each bundle. Attach a weather‑resistant tag to each bundle showing thickness, grade, heat number range, and quantity. This is the single most effective step to prevent mix‑ups at your yard.
Let me explain how to implement this with your supplier.
Why Separate Bundles Are Essential
When plates of different thicknesses are mixed in one bundle, your receiving team has to:
- Unstack the bundle
- Measure each plate’s thickness (time‑consuming)
- Sort them into piles
- Re‑stack them
This takes hours or days. And errors happen.
How to Specify Bundling in Your Purchase Order
Write this into your PO:
"The supplier shall bundle plates as follows:
- Each bundle shall contain plates of only one thickness and one grade.
- Example: Bundle A – 10mm Grade A, Bundle B – 12mm AH36, Bundle C – 15mm AH36.
- Each bundle shall be secured with steel straps (minimum 2 straps per bundle).
- Each bundle shall have a weather‑resistant tag showing: thickness, grade, heat number range, quantity (pieces), total weight, and bundle number.
- Bundles shall be loaded onto the truck or container in order of increasing thickness (thinnest on top – but see loading order section below)."
What the Tag Should Look Like
| Field | Example |
|---|---|
| Bundle number | B003 |
| Thickness | 12mm |
| Grade | AH36 |
| Heat numbers | H12345 – H12350 |
| Quantity | 25 plates |
| Total weight | 18.5 tons |
A Real Example
A buyer in Saudi Arabia received a shipment of 10mm and 15mm plates in one mixed bundle. The packing list showed "50 plates mixed thickness." The yard spent 4 hours measuring and sorting. Then they found that three 15mm plates were mixed with the 10mm stack. Those were cut incorrectly. The buyer added a bundling requirement to all future POs. Now the supplier sends separate bundles. Unloading takes 30 minutes.
What Labeling, Color Coding, and Packing List Details Prevent Mix‑Ups at Receiving?
The bundles arrive. The tags are there. But your team is busy. They might still grab the wrong bundle.
Use color coding in addition to tags. Paint the edge of each plate with a different color for each thickness. For example, red for 10mm, blue for 12mm, yellow for 15mm. Also provide a detailed packing list that maps bundle numbers to thickness and grade. Train your receiving team to check both the tag and the edge color before unloading. This double verification stops mix‑ups.
Let me detail each method.
Color Coding – Simple and Fast
Paint the narrow edge of each plate (the thickness face) with a stripe of high‑visibility paint. Use a different color for each thickness.
| Suggested color code: | Thickness (mm) | Edge color |
|---|---|---|
| 6‑8mm | White | |
| 10mm | Yellow | |
| 12mm | Green | |
| 15mm | Blue | |
| 20mm | Red | |
| 25mm | Orange | |
| Over 25mm | Black or purple |
How to apply: Ask your supplier to paint the edge of each plate after cutting. Or do it yourself at receiving. Use a spray can or brush. Paint a 50‑100mm stripe at both ends of each plate.
A worker can see the color from 10 meters away. No need to read small tags.
Labeling – Detailed Information
In addition to the bundle tag, each plate should have a label or stamp. The stamp already includes heat number and grade. Add a sticker with thickness if needed.
Packing List – The Master Document
The packing list must be detailed. Do not accept a one‑line "50 plates mixed."
| Good packing list example: | Bundle | Thickness | Grade | Heat numbers | Quantity | Edge color |
|---|---|---|---|---|---|---|
| B001 | 10mm | A | H12345 | 20 | Yellow | |
| B002 | 12mm | AH36 | H12346 | 20 | Green | |
| B003 | 15mm | AH36 | H12347 | 20 | Blue |
A Real Example
A yard in Vietnam started using color coding. The foreman said: “Before, my team had to read the stamp on each plate. That took 5 minutes per plate. Now they see the edge color. They know the thickness instantly. Sorting time dropped by 80%.”
How to Plan Loading Order (Thickest Plates at Bottom) to Avoid Damage During Transport?
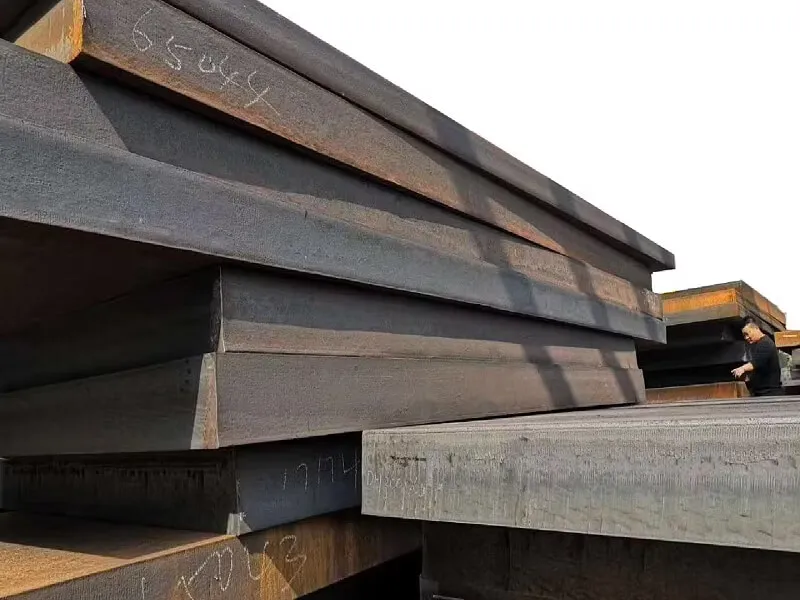
You stack plates on a truck. Thin plates at the bottom. Thick plates on top. The weight of thick plates bends the thin ones.
Plan loading order with thickest plates at the bottom and thinnest on top. Thick plates are stiffer and can support the weight of plates above. Thin plates will bend or crease if heavy plates are stacked on them. Also use wooden dunnage (spacers) between layers. Provide loading instructions to your supplier. This prevents transport damage and keeps plates flat.
Let me explain the physics and the procedure.
Why Thickest Plates Go at Bottom
A 20mm plate is much stiffer than a 10mm plate. It can support a stack of plates without bending. A 10mm plate will sag under the weight of a 20mm plate on top. This sag becomes permanent deformation (bowing). A bowed plate is hard to cut and weld.
Safe stacking order:
- Bottom: thickest plates (e.g., 20mm, 25mm)
- Middle: medium thickness (e.g., 12mm, 15mm)
- Top: thinnest plates (e.g., 6mm, 8mm, 10mm)
Use Dunnage Between Layers
Wooden dunnage (spacers) are placed between each layer. They allow air to circulate and prevent plates from sticking. They also distribute weight evenly.
Dunnage specifications:
- Material: dry, untreated wood (e.g., pine or hardwood)
- Size: 50mm x 50mm or 50mm x 75mm
- Spacing: every 1‑1.5 meters along the length of the plate
- Alignment: stack dunnage directly above the dunnage below (vertical columns)
Loading Instructions for Your Supplier
Write this into your PO:
"Loading order for multiple thickness plates:
- Thickest plates shall be loaded at the bottom of the truck or container.
- Plates shall be stacked in decreasing thickness order (thickest to thinnest from bottom to top).
- Wooden dunnage (50x50mm minimum) shall be placed between each layer, spaced at 1.5m intervals.
- Dunnage shall be aligned vertically to transfer load.
- No plate shall overhang the stack by more than 500mm.
- Bundles shall be strapped to prevent shifting during transport."
A Real Example
A buyer in Malaysia received a shipment where the supplier had stacked 10mm plates at the bottom and 20mm plates on top. The 10mm plates were permanently bowed. The buyer rejected the shipment. The supplier had to replace 15 tons of plates at their cost. The buyer added loading instructions to every PO after that. No more damage.
What Receiving and Sorting Procedures Help Your Yard Quickly Separate and Store Different Thicknesses?
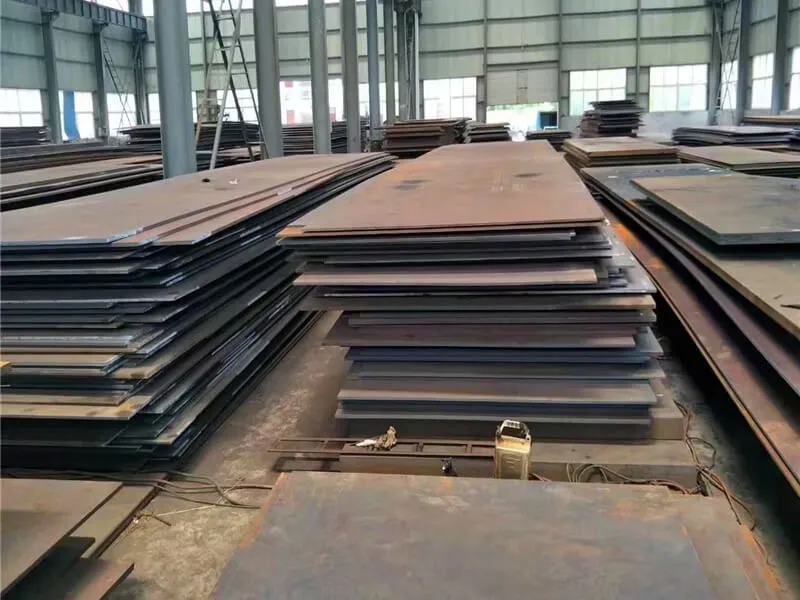
The truck arrives. Your team unloads. But they do not have a plan. Plates end up in a messy pile.
Implement a receiving procedure: check the packing list against the bundles, verify edge colors or tags, and move each bundle to a designated storage zone for its thickness. Use floor markings or signs (e.g., “10mm Zone”, “12mm Zone”). Keep zones separate. For cutting, implement a two‑step verification: the cutter checks the thickness stamp and a supervisor confirms. These procedures take minutes but prevent hours of sorting and rework.
Let me detail each step.
Step 1: Before Unloading
- Have the packing list ready.
- Count the bundles. Do they match the packing list?
- Check bundle tags. Do the thickness and grade match the packing list?
- If any discrepancy, do not unload. Call the supplier.
Step 2: During Unloading
- For each bundle, take a photo of the tag and the edge color.
- Verify the thickness stamp on a random plate from each bundle.
- Direct the forklift to the correct storage zone based on thickness.
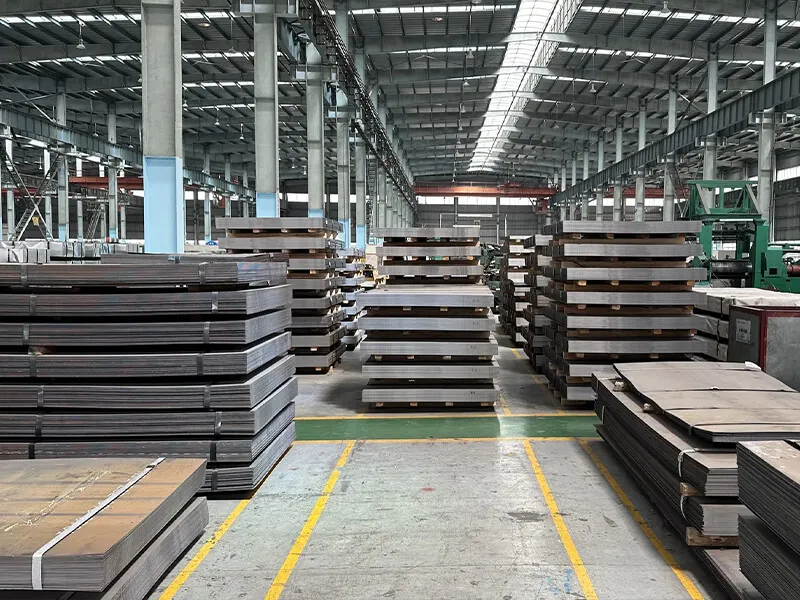
Step 3: Storage Zones
Mark your yard with painted lines or signs:
| Zone | Thickness | Sign color |
|---|---|---|
| Zone 1 | 6‑8mm | White |
| Zone 2 | 10mm | Yellow |
| Zone 3 | 12mm | Green |
| Zone 4 | 15mm | Blue |
| Zone 5 | 20mm | Red |
| Zone 6 | 25mm+ | Orange |
Keep zones separate. Leave a gap of at least 1 meter between zones to prevent accidental mixing.
Step 4: Cutting Procedure – Two‑Step Verification
First check – Cutter: Before cutting, the operator reads the thickness stamp on the plate. He confirms it matches the cutting list.
Second check – Supervisor: A second person (supervisor or quality inspector) visually checks the stamp and the cutting list. He signs off on the cutting sheet.
Why two checks? A single person can make a mistake. Two people almost never do.
A Real Example
A yard in the Philippines received a shipment of 10mm, 12mm, and 15mm plates. They had no storage zones. All plates went to one area. A worker grabbed what looked like a 12mm plate. It was actually 10mm. He cut it for a part that needed 12mm. The mistake was found after welding. The part had to be scrapped. Cost: $5,000. After that, they implemented marked zones and two‑step verification. In two years, no thickness mix‑ups.
What to Do If You Find a Plate with Wrong Thickness
If you discover a plate that does not match its tag or edge color:
- Tag it immediately with a red “HOLD” sticker.
- Move it to a quarantine area.
- Measure the thickness with a gauge to confirm.
- Do not cut it.
- Contact the supplier for resolution (replacement or credit).
Conclusion
Group plates by thickness in separate bundles. Use color coding and detailed packing lists. Load thickest plates at the bottom. Follow strict receiving and cutting procedures. These steps prevent mix‑ups and damage.