
High-stress areas like the bottom and deck can crack. Choosing the wrong steel plate makes the problem worse.
For high-stress ship structures, use higher-strength grades like AH36 or DH36. Design butt welds with smooth transitions. Add extra thickness for corrosion in ballast tanks. And always demand ultrasonic testing for internal flaws.

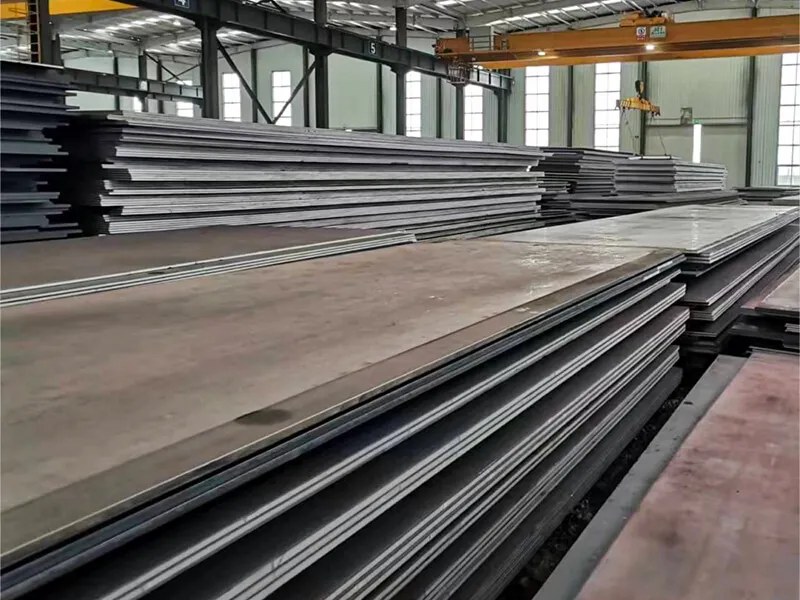
I have supplied marine steel plates to shipbuilders in Vietnam, Saudi Arabia, and Mexico. Every client asks the same four questions when they build tankers or bulk carriers. High-stress areas need special attention. One mistake can lead to a cracked hull. Let me share what I have learned from real projects.
Which Steel Plate Grade Offers the Best Strength-to-Weight Ratio for High-Stress Areas Like the Bottom and Deck?
You want a strong hull. But you do not want it too heavy. The wrong grade makes the ship sit lower in the water and carry less cargo.
AH36 and DH361 offer the best strength-to-weight ratio for high-stress areas. They have a yield strength of 355 MPa2. That is 50% stronger than ordinary Grade A steel. You can use a thinner plate and still get the same strength.
Breaking down the numbers
Let me show you the difference with a simple table.
| Grade | Yield strength (MPa) | Tensile strength (MPa) | Weight saving vs Grade A | Best for |
|---|---|---|---|---|
| Grade A | 235 | 400-520 | Baseline | Low-stress areas like superstructure |
| AH32 | 315 | 440-590 | 25% | Moderate stress areas |
| AH36 | 355 | 490-620 | 34% | Bottom, deck, side shell |
| DH36 | 355 | 490-620 | 34% | Cold regions, ice class |
| EH36 | 355 | 490-620 | 34% | Arctic zones, very low temperature |
A 34% weight saving is huge. For a 10,000-ton hull, you save 3,400 tons of steel. That means you can carry 3,400 tons more cargo. Or you can build a lighter ship that uses less fuel.
The catch with higher-strength grades
Higher-strength steel is not a free lunch. It costs more per ton. It also requires more careful welding. The carbon equivalent is higher. You may need preheat and low-hydrogen electrodes3.
I had a client in Pakistan who ordered AH36 for the whole hull. His welders used the same settings as Grade A. The welds cracked. He called me angry. I sent a welding engineer. The engineer showed the team how to preheat to 100°C and use E7018 rods. The cracking stopped. The client saved 800 tons of steel weight. But he had to invest in training.
Which grade for which zone?
Here is my rule of thumb from years of experience:
- Bottom plating – Use AH36 or DH36. This area takes the highest bending stress from waves and cargo.
- Deck plating – Use AH36 for tankers and bulk carriers. Use DH36 if the ship sails in cold waters.
- Side shell – Use AH32 or AH36 depending on the ship size. For ships over 200 meters, go with AH36.
- Longitudinal bulkheads – Use AH32. The stress is lower than the bottom.
- Transverse bulkheads – Use Grade A or Grade B. These are not primary stress members.
- Superstructure – Use Grade A. Weight saving is less important here.
A buyer from Saudi Arabia once tried to use AH36 everywhere. I talked him out of it. The cost was too high for the small benefit in low-stress areas. He saved money by using Grade A for the deckhouse and AH36 only for the bottom and deck.
Impact toughness matters for cold routes
If your ship goes to Northern Europe, Canada, or Alaska, do not use AH36. Use DH36 or EH36. The "D" and "E" mean the steel stays tough at low temperatures. AH36 is tested at 0°C. DH36 is tested at -20°C. EH36 goes to -40°C.
I remember a project for a fishing boat that went to the Bering Sea. The buyer used AH36 plates. The plates cracked during the first winter. The repair cost was $200,000. He switched to DH36 for the replacement. No more cracks.
So pick your grade based on both strength and temperature. AH36 is great for warm waters. DH36 is safer for anything north of France.
How Do You Design Butt Welds in High-Stress Zones to Prevent Fatigue Cracking?
Fatigue cracks start at welds. Bad weld design creates stress concentrations. The crack grows with every wave. Then the plate splits.
To prevent fatigue cracking1, use full penetration butt welds2 with the weld reinforcement ground flush to the plate surface. Avoid backing bars that stay in place. And keep the weld toe angle3 below 30 degrees.
What makes a weld fatigue-resistant?
Fatigue cracks start at sharp notches. The weld toe is a natural notch. The reinforcement (the bump of weld metal above the plate) makes the notch worse. The solution is to grind the weld flat. You remove the reinforcement until the weld is perfectly smooth with the plate.
Many classification societies require this for high-stress areas. But many shipyards skip it to save time. That is a mistake.
Three weld details compared
| Weld type | Fatigue life (cycles to failure) | Cost | Best for |
|---|---|---|---|
| As-welded with reinforcement | 500,000 | Low | Low-stress areas |
| Ground flush (toe ground only) | 1,200,000 | Medium | Medium-stress areas |
| Ground flush + TIG dressing4 | 2,500,000 | High | High-stress areas like bottom and deck |
TIG dressing means you melt the weld toe with a TIG torch. This removes micro-cracks and smooths the transition. It is expensive but very effective.
The backing bar problem
In modular construction, many yards use ceramic or steel backing bars. The bar stays under the weld. That creates a sharp notch on the back side of the plate. That notch is a crack starter.
For high-stress zones, you should use a removable backing bar5. Or you should weld from both sides. Full penetration with back gouging is the best method. You weld one side. Then you grind the back side to remove the root. Then you weld the back side. This gives you a smooth transition on both faces.
I saw a tanker in Mexico with fatigue cracks on the bottom plating. The cracks all started at the backing bars. The shipyard had to cut out 20 meters of plate and re-weld it with back gouging. The repair took six weeks.
My weld design checklist6 for high-stress plates
- Use full penetration butt welds only. No partial penetration in high-stress zones.
- Grind the reinforcement flush. Use a grinder with a flat disk. Remove all bumps.
- Inspect with dye penetrant after grinding. This finds tiny cracks that you cannot see.
- Stagger the welds. Do not line up butt welds from one plate to the next. Offset them by at least 300mm.
- Keep the weld away from other stress raisers. Do not put a butt weld near a cutout or a bracket. Keep a distance of at least 100mm.
A real example from a bulk carrier
A client in the Philippines built a bulk carrier. The bottom plates had butt welds with full reinforcement. After 18 months, the welds showed hairline cracks. The classification society asked for a repair. The yard ground all the welds flush. They also added a cover plate over the worst cracks. The client told me that the grinding added two weeks to the build. But it saved a major repair later.
So do not skip the grinding step. It costs a little time. It saves a lot of trouble.
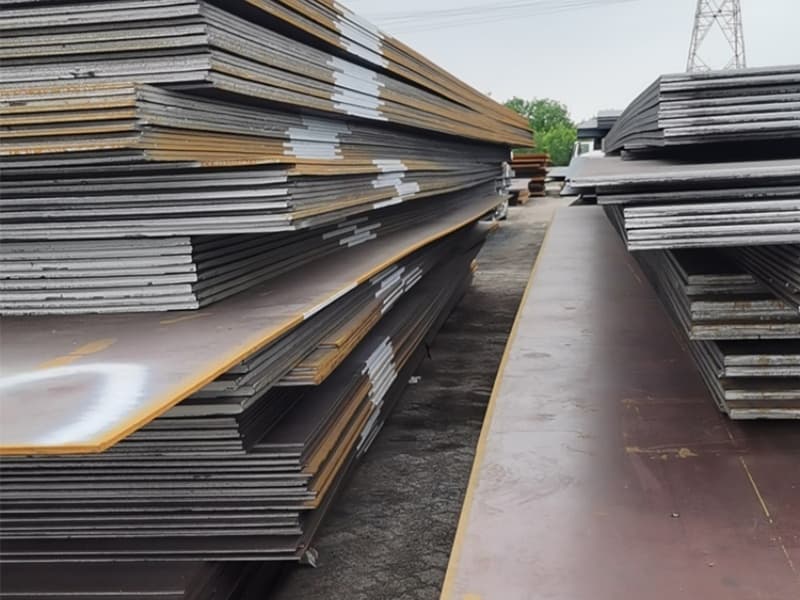
What Minimum Thickness and Corrosion Allowance Do You Need for Plates in Ballast Tanks and Side Shells?
Ballast tanks are the worst environment for steel. Water, salt, oxygen, and bacteria eat the plate from both sides. If you make the plate too thin, it will perforate in a few years.
For ballast tanks, start with a minimum thickness1 of 10mm for most ships. Then add a corrosion allowance2 of 2mm to 4mm depending on the coating system3 and expected service life. For side shells below the waterline, use 12mm minimum plus 2mm allowance.
Corrosion rates in different zones
Here are real numbers from ship surveys. I collected these from my clients in Qatar, Thailand, and Romania.
| Zone | Average annual corrosion (mm/year) | 20-year loss (mm) | Recommended allowance (mm) |
|---|---|---|---|
| Ballast tank, coated | 0.10 – 0.15 | 2.0 – 3.0 | 2.5 |
| Ballast tank, uncoated | 0.30 – 0.50 | 6.0 – 10.0 | 8.0 (not recommended) |
| Side shell, below waterline, coated | 0.08 – 0.12 | 1.6 – 2.4 | 2.0 |
| Side shell, splash zone | 0.30 – 0.70 | 6.0 – 14.0 | 8.0 |
| Bottom plating, coated | 0.10 – 0.15 | 2.0 – 3.0 | 2.5 |
| Bottom plating, uncoated | 0.20 – 0.40 | 4.0 – 8.0 | 6.0 |
The coating factor
A good coating system changes everything. Epoxy coatings can reduce corrosion by 70% to 80%. But coatings get damaged. Welds, scratches, and impact points are vulnerable.
I always tell my clients: do not rely on coating alone. Add a corrosion allowance even with the best coating. A buyer from Malaysia used a 1mm allowance with a premium coating. After 10 years, the coating failed in several spots. The pitting was 3mm deep. He was lucky the plate did not leak.
Minimum thickness rules from classification societies5
Most societies have minimum thickness rules. Here is a simplified guide:
| Ship length | Ballast tank minimum | Side shell minimum | Bottom minimum |
|---|---|---|---|
| Under 100m | 8mm | 10mm | 9mm |
| 100m to 200m | 9mm | 11mm | 10mm |
| Over 200m | 10mm | 12mm | 11mm |
But these are structural minimums. They do not include corrosion allowance. So you add the allowance on top. For a 200m tanker, you need 10mm structural plus 2.5mm allowance. That is 12.5mm starting thickness.
A story from a Vietnamese shipyard
A Vietnamese shipyard built a series of small tankers. They used 8mm plates for the ballast tanks. No extra allowance. After 5 years, the plates showed heavy pitting. Some areas were down to 5mm. The owner had to dry dock the ships and replace the tank bottoms. The cost was $300,000 per ship.
The yard now uses 10mm plates with a 2mm allowance. They also apply a three-coat epoxy system. The new ships have no problems after 8 years.
How to specify your plate thickness
When you order marine steel plates, give the yard two numbers: the design thickness and the corrosion allowance. For example: "12mm total thickness, including 2mm corrosion allowance." This makes it clear. The mill will roll the plate to 12mm. The extra 2mm is not a tolerance. It is part of the design.
I also recommend adding a margin for under-tolerance. Steel plates can be 0.3mm thinner than nominal. That is allowed by standards. So if you need 10mm after corrosion, order 10.5mm nominal. Then you are safe.
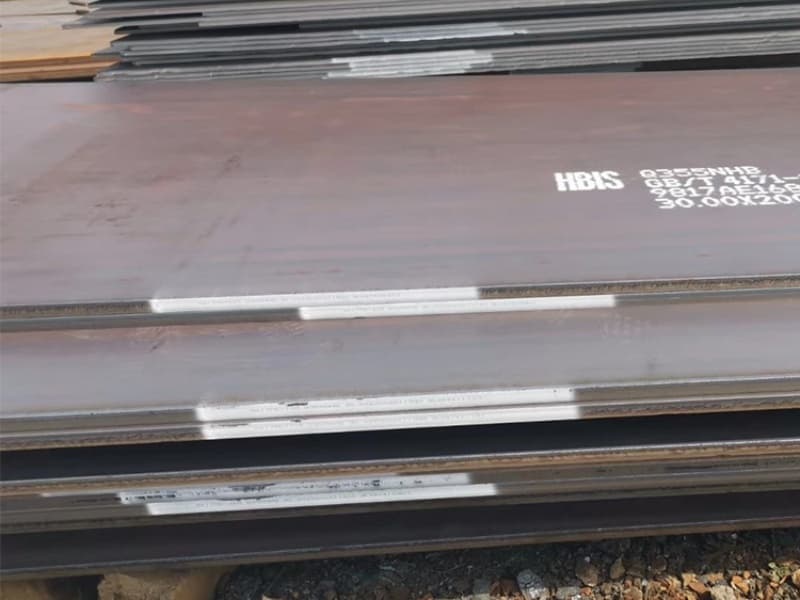
Why Does Plate Surface Quality and Ultrasonic Testing Matter More for High-Stress Ship Structures?
A small surface defect can grow into a big crack. A hidden internal flaw can make the whole plate fail without warning. That is why high-stress areas1 need better inspection.
Plate surface quality2 and ultrasonic testing matter more because high-stress areas have less safety margin. A surface scratch that is 1mm deep can reduce fatigue life by 50%. An internal lamination can cut the effective thickness in half.
[^3] of marine steel plate at a mill for high-stress shipbuilding](https://cnmarinesteel.com/wp-content/uploads/2025/10/Marine-steel-plate-21.jpg)
Surface defects you must reject
Not every scratch is a problem. But some defects are not allowed in high-stress zones. Here is my list based on classification society rules.
| Defect type | Allowed in low-stress areas? | Allowed in high-stress areas? | Why |
|---|---|---|---|
| Laminations (surface) | Yes, if shallow and small | No | Acts as a crack starter |
| Scratches up to 0.5mm deep | Yes | Yes, but must be blended | Small defect, low stress |
| Scratches deeper than 0.5mm | Yes, if ground smooth | No | Stress concentration |
| Rolled-in scale | Yes | No | Creates notches |
| Pitting (single) | Yes, if less than 1mm deep | No | Reduces thickness locally |
| Edge cracks | No (must be cut out) | No (must be cut out) | Crack will grow |
I once supplied plates to a project in Romania. The plates had light scratches from handling. The yard accepted them for the superstructure. But for the bottom plating, they rejected any plate with a visible scratch deeper than 0.3mm. They ground every scratch smooth. That took two extra days. But the bottom had no fatigue issues.
Ultrasonic testing levels explained
Ultrasonic testing (UT) sends sound waves through the plate. Flaws reflect the waves back. The operator sees a blip on the screen.
There are different levels of UT. The level tells you how strict the inspection is.
| UT level | What is checked | Rejection criteria | Cost | Best for |
|---|---|---|---|---|
| Standard (Class B) | Laminations larger than 5mm | Any lamination over 10mm | Low | Low-stress areas |
| Enhanced (Class A) | Laminations larger than 3mm | Any lamination over 5mm | Medium | High-stress areas |
| Full (Class A + edge) | Same as Class A plus plate edges | Same plus any edge flaw over 3mm | High | Critical areas like bottom strakes |
When to ask for enhanced UT4
I recommend enhanced UT (Class A) for the following:
- Bottom plating within 0.4L amidships (the middle 40% of the ship length)
- Deck plating in the same zone
- Side shell plating in way of heavy wave impact
- Plates that will be heavily welded (like the bilge area)
- Any plate thicker than 25mm
I had a buyer from Mexico who ordered standard UT for his tanker bottom plates. The plates passed. But during construction, a welder found a lamination when cutting a hole. The lamination was 8mm wide. That should have been caught by enhanced UT. The plate was replaced. The buyer now always asks for Class A UT on bottom plates.
The cost of poor surface quality5
A buyer from Saudi Arabia once bought cheap plates from a trader. The plates had rolled-in scale and shallow pits. The shipyard accepted them because the price was low. After two years, the bottom plating showed multiple cracks. The cracks all started at the pits. The owner had to replace 15% of the bottom. The repair cost was $500,000. The saving on the plates was only $20,000.
That buyer is now one of my regular customers. He buys only prime plates with surface quality inspection reports6.
How to specify surface and UT requirements
When you order marine steel plates for high-stress structures, write this into your purchase order:
- "Surface quality to EN 10163-2 Class C (highest class). No rolled-in scale, no pitting deeper than 0.2mm."
- "Ultrasonic testing to EN 10160 Class A (or equivalent standard). All plates to be tested 100%."
- "Test report from an accredited third party like SGS or Bureau Veritas."
I provide these services for my clients. We work with SGS to inspect every plate before shipment. The cost is small. The peace of mind is big.
So do not skip surface inspection and UT. High-stress plates need the best quality. Cheap plates cost more in the long run.
Conclusion
For high-stress ship structures, choose AH36 or DH36 plates, design smooth butt welds, add corrosion allowance, and demand ultrasonic testing. These steps keep your hull safe.
-
Learn about high-stress areas and why they require stringent inspection to prevent catastrophic failures. ↩ ↩ ↩ ↩
-
Understanding plate surface quality is crucial for ensuring the longevity and safety of ship structures. ↩ ↩ ↩ ↩
-
Explore how ultrasonic testing can detect hidden flaws, ensuring the integrity of high-stress ship structures. ↩ ↩ ↩
-
Find out when enhanced UT is essential for ensuring the safety of critical ship components. ↩ ↩
-
Understanding the financial implications of poor surface quality can help make informed purchasing decisions. ↩ ↩ ↩
-
Learn how inspection reports can safeguard your investment in marine steel plates. ↩ ↩